Dinner Set Slim Round
Dinner Set Slim Round
Share this product
GR Pottery Forms are wood drape molds ideal for making dinnerware and serving platters. They are cut and beveled fiberboard which make them durable and economical.
Easy to use over and over again giving you a tool to create your personalized shallow objects. Jeff has used them for 10 years to create his production line and now is offering them to you. But remember they are wood. They will not last as long if they are left in a wet condition for over a 24 hour period. The timing of making them and removing the pieces from the slab is very similar to plaster. Ship really well and can be easily stored in a dry space. No release agent, cleaning or sealing necessary.
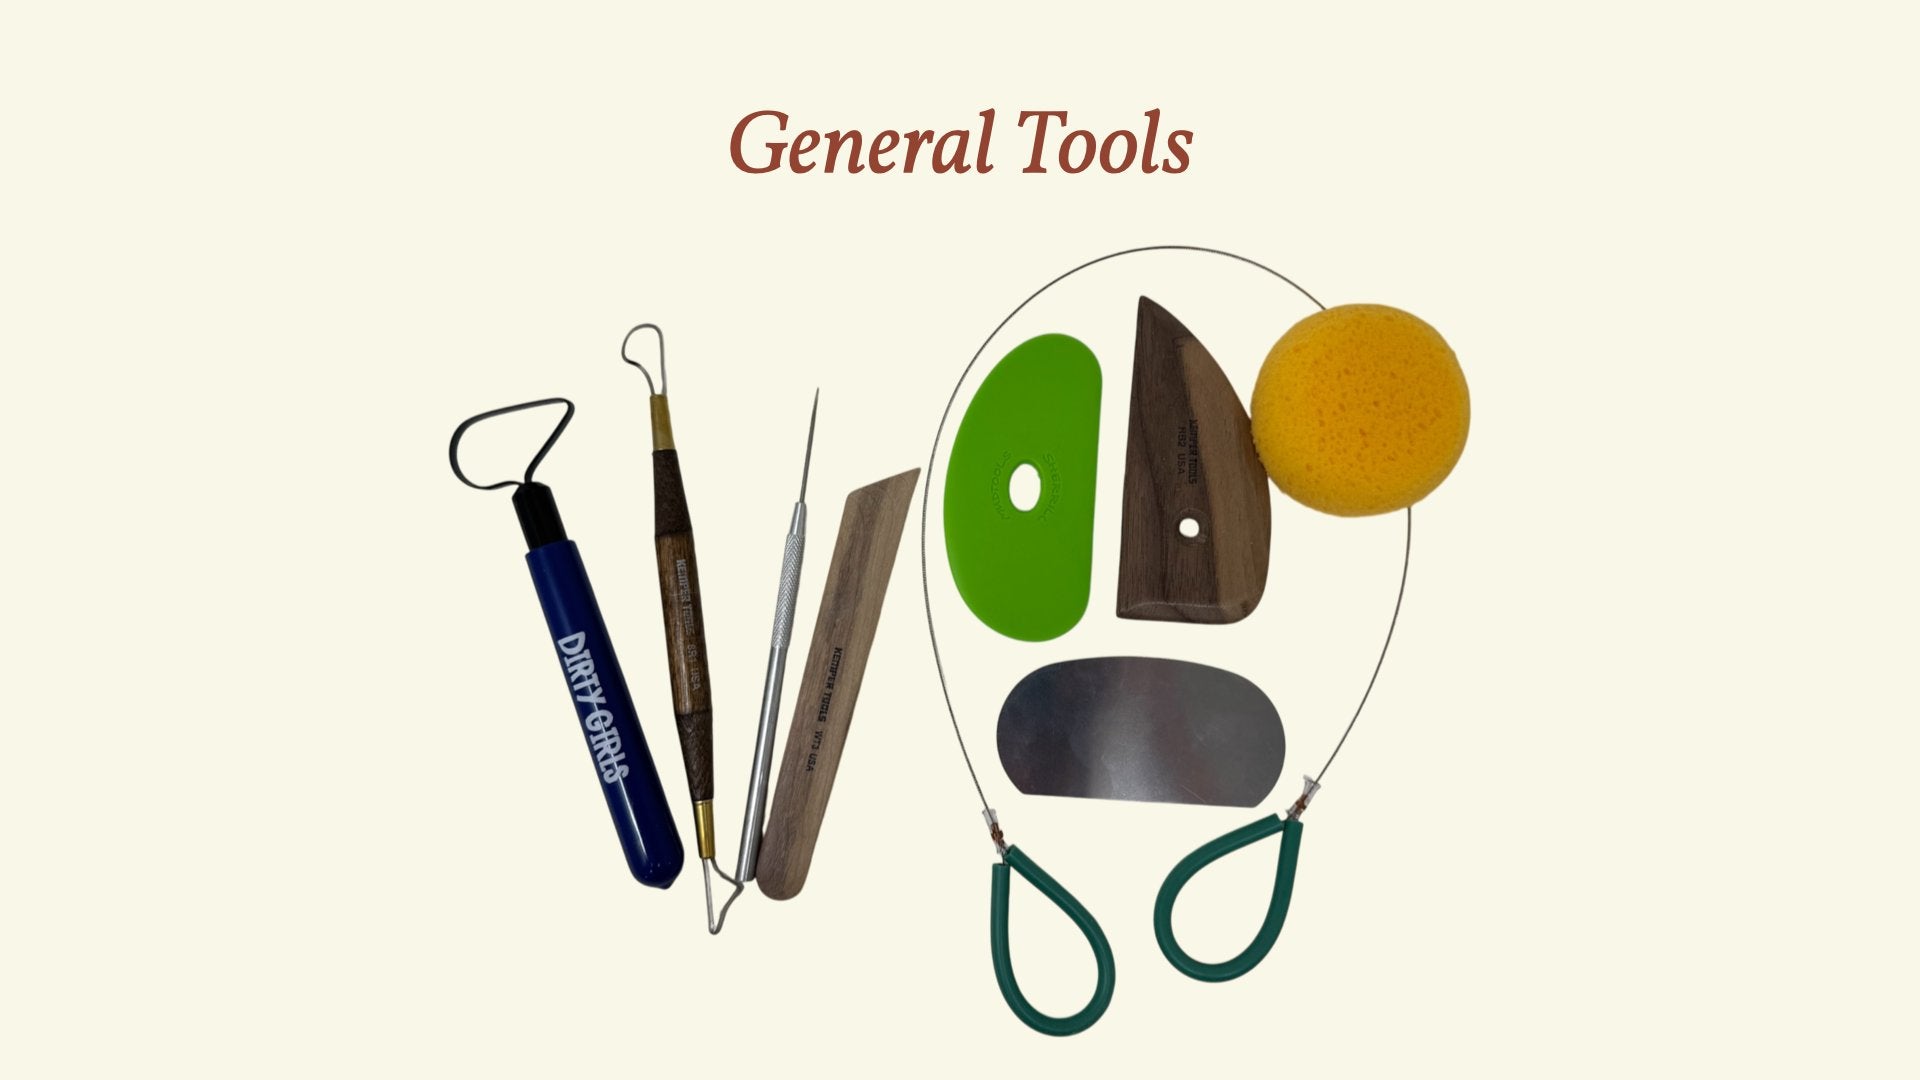
Try the "Foot Maker" tool to smooth and shape slab feet or edges.
3" Square spacers are available separately and can be used to lift the molds off the surface of the table after draping the slab so modifications can be made to the edges.
Take a look at the videos below (or check out all of the videos on the GR Pottery Form YouTube channel) to learn some tricks and tips on how to use the GR Pottery Form Molds.
Easy to use over and over again giving you a tool to create your personalized shallow objects. Jeff has used them for 10 years to create his production line and now is offering them to you. But remember they are wood. They will not last as long if they are left in a wet condition for over a 24 hour period. The timing of making them and removing the pieces from the slab is very similar to plaster. Ship really well and can be easily stored in a dry space. No release agent, cleaning or sealing necessary.
Try the "Foot Maker" tool to smooth and shape slab feet or edges.
3" Square spacers are available separately and can be used to lift the molds off the surface of the table after draping the slab so modifications can be made to the edges.
Take a look at the videos below (or check out all of the videos on the GR Pottery Form YouTube channel) to learn some tricks and tips on how to use the GR Pottery Form Molds.

Form Details
Form Details
Shape: Circle
Size Group:
Construction methods: Handbuilding
Suggested Uses: Plates
Form Types: Sets & Packs
Material: Medium density fiberboard (MDF)
Shop by Collection:


Shop by Shape:


Shop by Size:
Cutie • Small • Medium • Large • Very Large
Regular price
$55.95
Sale price
$55.95
Regular price
$55.95
Hurry up, only 3 items left in stock.