


Choose your option

Choose your option


Choose your option

Choose your option

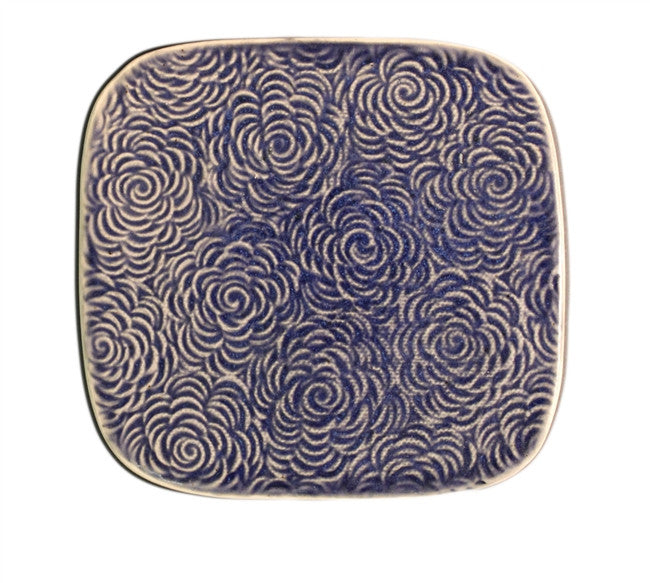
Celebration Doodads Sprig Molds 3721
Regular price
$33.00
Sale price
$33.00
Regular price
Choose your option

Choose your option
Choose your option

Choose your option

Choose your option

Choose your option

Choose your option

Choose your option

Choose your option

Choose your option

Choose your option

Choose your option

Choose your option

Choose your option

Choose your option