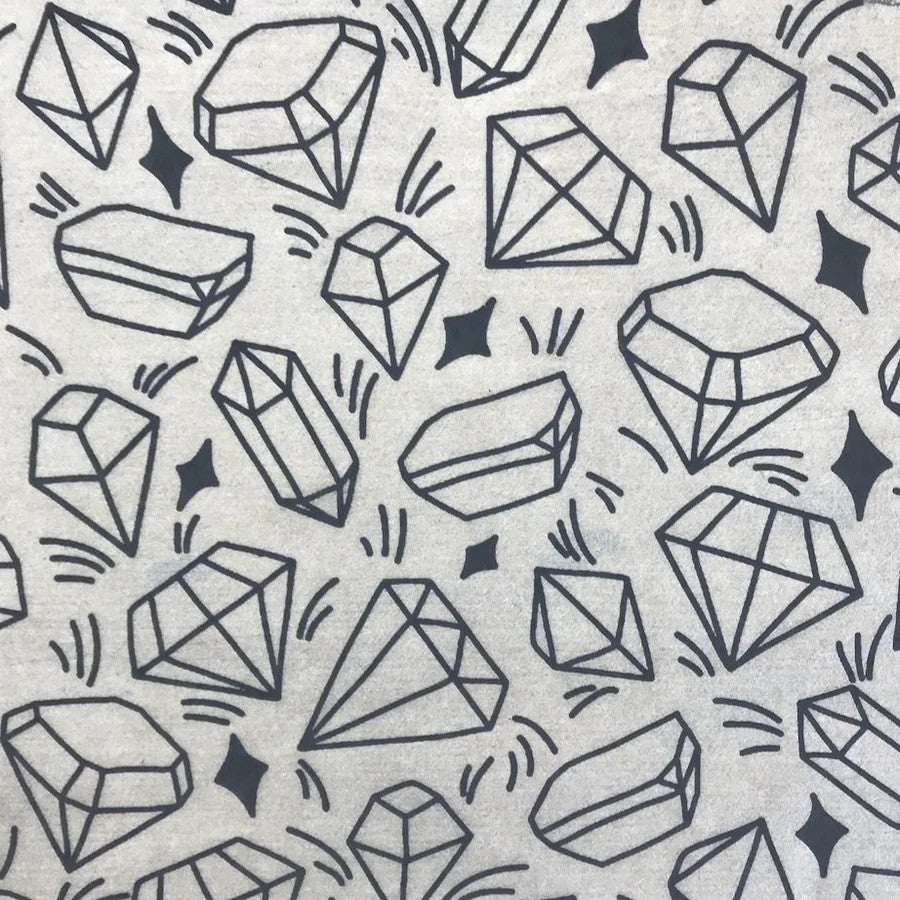

Crystals Underglaze Transfer
Crystals Underglaze Transfer
Share this product
variety of crystals for all for your cleansing. Available in black (blue already sold out)
Find size details and usage information direct from the manufacturer below
Out of stock
Your payment information is authorized at checkout, your order is then reviewed by staff, and your payment is processed securely after your order is confirmed. We do not store credit card details nor have access to your credit card information.

Resources
Elan Decal Basic Details
Elan Decal Basic Details
Elan Transfers provides fun, unique, and high-quality decals for contemporary ceramic artists to use on their own pottery. After years of using custom decal designs on her own work, artist Leigh Anne Thompson, saw that there was a need for a fresh approach to a timeless art of underglaze transfers. In 2018 she began working with graphic designers and fellow artists to create new designs with the contemporary ceramicist in mind. Five years later Elan Transfers is now the largest modern decal company offering over 400 different designs in a range of colors! From our own handmade pottery to our specialty transfers we have a fine attention to detail and hold customer service and craftsmanship as our primary goal.
We hope you enjoy using our Elan Transfers and would love to see what you create with them!
Elan Transfer Usage Instructions
Elan Transfer Usage Instructions
Underglaze Transfer Instructions
Our underglaze transfers are lead-free, food-safe, and screen printed on rice paper -
perfect for greenware or bisqueware. They fire up to cone 10, though lighter colors like
pink do best at cone 6 or below. For best results, use a zinc-free clear glaze. Unglazed
surfaces are food-safe when fired to cone 6 or higher.
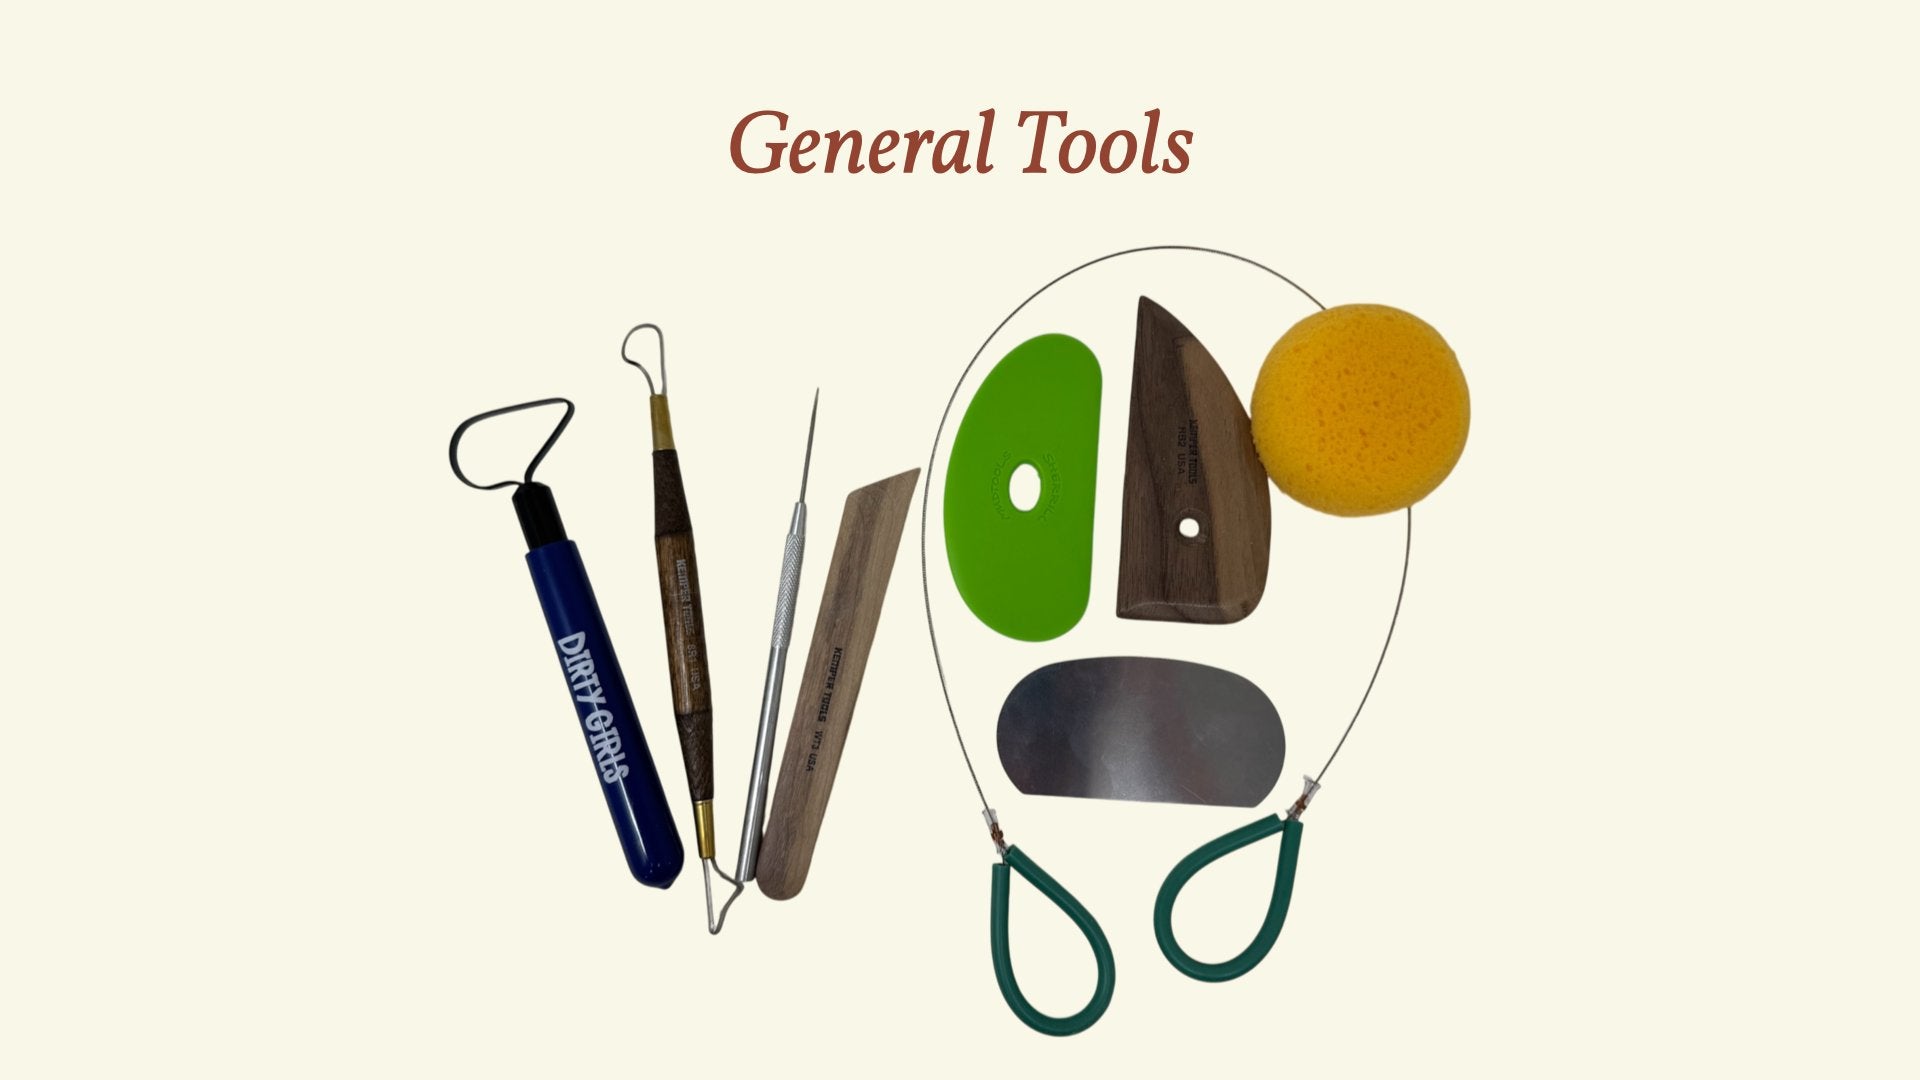
Materials Needed:
• Elan Transfers Underglaze Transfer
• Wet, leather hard, or bisque surface to apply transfer to
• Bowl of water
• Plastic rib tool (I use the yellow Y3 mud tools rib)
• Sharp scissors
• Pottery sponge
• Tiny paint brush for touch ups
• Kiln ☺
1. Position the Transfer: Place the transfer sheet face-down on your clay slab or
form. Starting from the center, gently press it onto the surface using a damp (but
well-wrung) sponge. Avoid excess water, as it can cause smearing.
2. Watch for Color Change: As the transfer adheres, the design will darken slightly.
Continue pressing gently with the sponge to ensure full contact with the clay.
3. Check for Full Transfer: Slowly lift one corner of the sheet to check if the design
has fully transferred. If not, press it back down and gently sponge again. The wetter
the clay, the easier the transfer—but the higher the chance of smearing.
4. Adjust Based on Clay Moisture: The amount of pressure and moisture needed
varies depending on how wet or dry your clay is. With practice, you’ll develop a feel
for the right balance.
5. For Leather-Hard Clay: On firmer clay, you can use a plastic rib (like the yellow
Mudtools Y3) to press the transfer down—similar to applying a window decal. Avoid
using ribs on wet clay (they may smear the design) or bisqueware (they’re less
effective).
6. Remove the Backing Paper: Once the transfer is complete, slowly peel away the
paper. If any areas didn’t transfer, lay it back down and rub gently with a damp
sponge or your fingertip. Use leftover ink on the sheet and a fine brush to fill in
missed or smudged spots.
Greenware: Let your piece dry completely to bone dry, then bisque fire. Since the underglaze
isn’t fully fused at this stage, handle with care to avoid smudging. Don’t wash the bisqueware -
gently blow off any dust instead. Apply a zinc-free clear glaze and glaze fire as normal.
Bisqueware: Wait 24 hours or more after applying the transfer before glazing to prevent
peeling. Once fully dry, glaze and fire as usual.
Glazing Tip: Use a thin, even coat of zinc-free glaze. Thick glaze may cause the
design to blur.
Elan Decal FAQ
Elan Decal FAQ
Yes! There is no lead in any of our underglaze transfer or overglaze decal sheets and they are all food safe when fired according to the directions on ourinstruction page.
Underglaze Transfers are recommended for green and bisqueware ceramic pots only. Overglaze Decals are recommended for use on previous glazed fired ceramic pieces and work best on a white or light colored glaze.
Underglaze Transfers are sheet of rice paper that has been individually silk screened with ceramic underglaze and then made available for you to apply like a temporary tattoo to your ceramic pieces. These sheets are typically one or just a few colors and come in with a 19" x 13" usable area. They can be applied to wet, leather hard, or bisqued pottery and need to be fired with a clear or translucent zinc free glaze on top. If you are glaze firing to a temperature exceeding cone 6 a glaze on top glaze coat is not necessary. Since these are made from underglaze they act similar to other underglazes and can be layered with underglazes. For more detailed instructions on the application process click HERE.
Yes! The application process is a bit different for each process and we highly recommend experimenting but our transfers can be applied to wet, leather hard, and bisqued pottery. Please view our video tutorial page for some helpful videos and or our application instruction page for more detailed instructions.
Our overglaze decals can only be applied to previously glaze fired pottery.
Our transfers act as any other underglaze would so they will not stick to your kiln shelf or other pots unless you have added a overglaze to them. They can also be combined in any order with underglazes.
Wiping pots after bisquing is not recommended when you are using any underglaze decals as the ink is not set until it has a glaze on top or they are fired to a minimum of cone 6. If you get them wet or rub them after bisque it will smear the images. You can instead take them out side and blow them off if there is a lot of dust on them. Canned air or a compressor is good for this task although with my own pots I don't need to do this step when I glaze them with our rubbing technique that can be seenhere.
You can use any glaze you like on top but keep in mind the translucency of the glaze will affect how much of the design you see. Even some clear glazes can appear cloudy or milky when applied too thick so consistency is also a concern. I recommend experimenting with some test tiles to get the perfect glaze before glazing a bunch of work.
I use Cone 5 HF-9 clear zinc free glaze from Amaco (it fires well to cone 6 too). I buy it in premixed gallons so I can brush it on each piece and I fire it to Cone 6 with a 5 min hold at temperature and a slow cool of 150 degrees per hour until it reaches 1800 degrees and then I shut the kiln off and let it cool naturally until about 200 when I crack the lid to peek.
Any and all! I highly recommend experimenting with different firing temperature and atmospheres to see what feels right for your work. I personally fire to Cone 6 in an electric kiln but have also had lots of fun using our transfers on pots fired in gas reduction kilns and wood fired kilns reaching cone 12. Our designs can also be used in low fire work with an over glaze on top.
If your final glaze firing temperature will be under Cone 6 to it is important to note that you will need an over glaze on top to seal the designs in and prevent them from rubbing off. It's also worth noting to take care when glazing and handling bisqueware with transfer designs as they can smudge when rubbed or if they get wet prior to the glaze application.