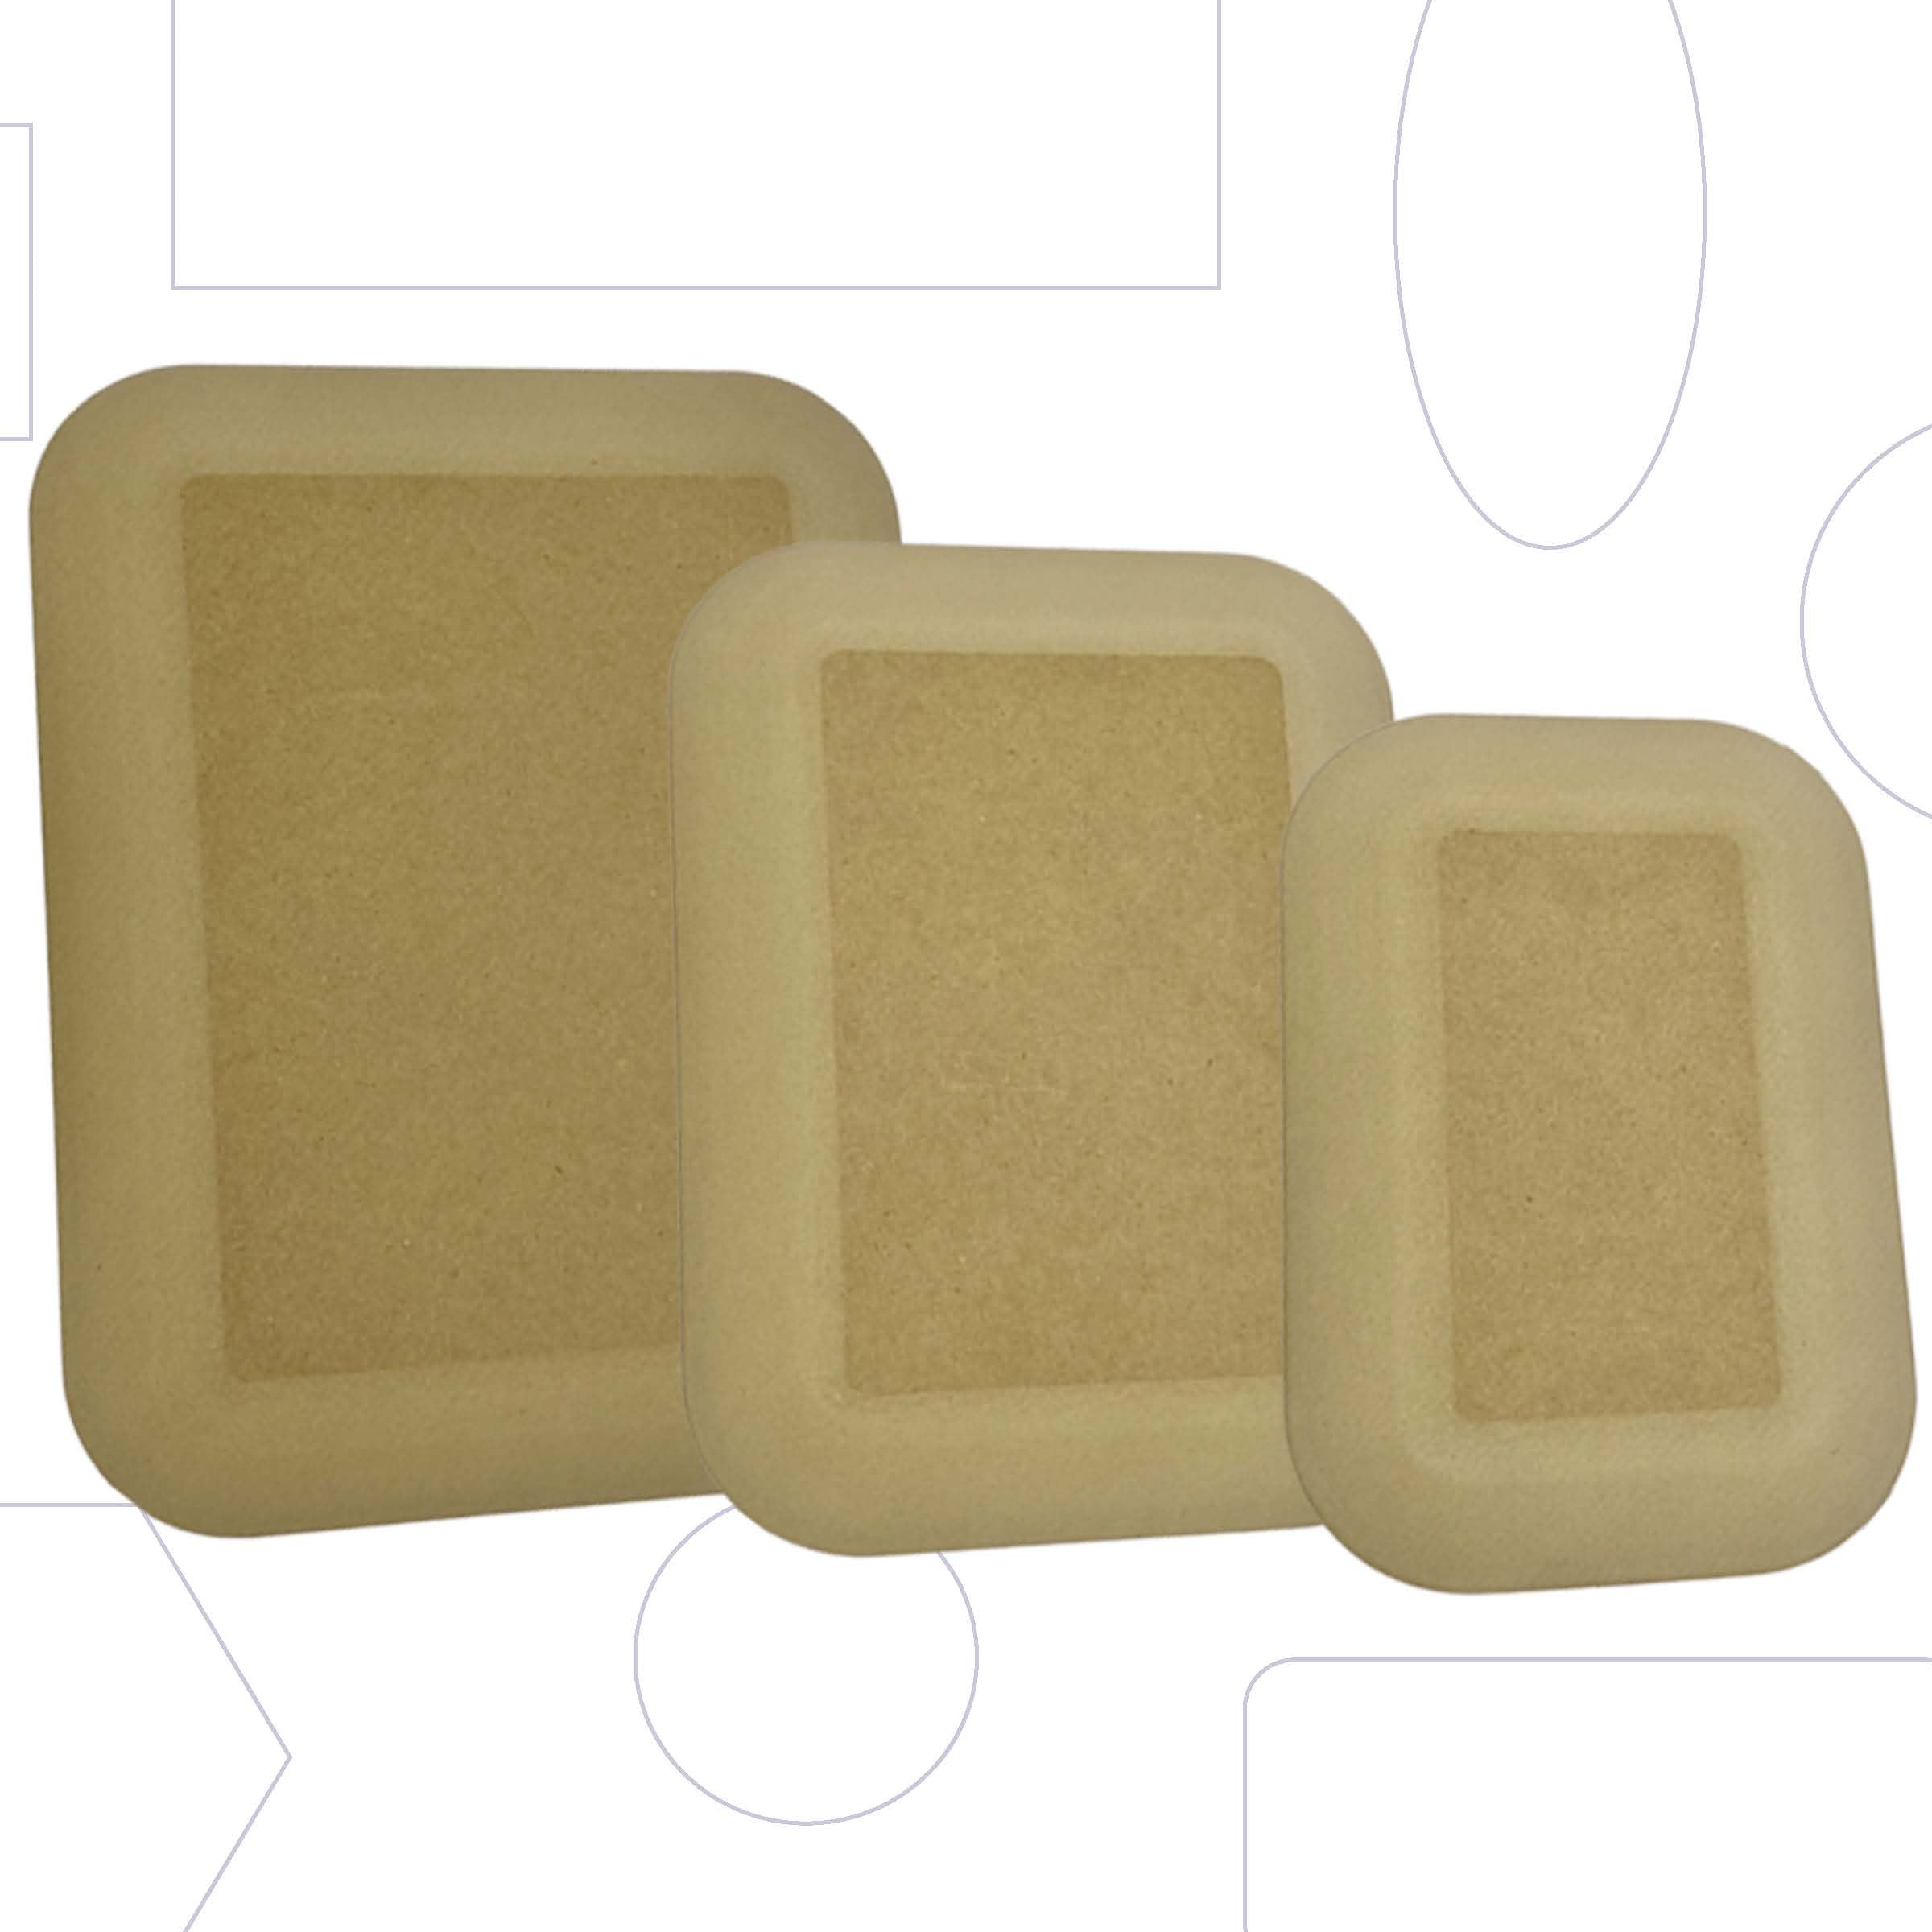
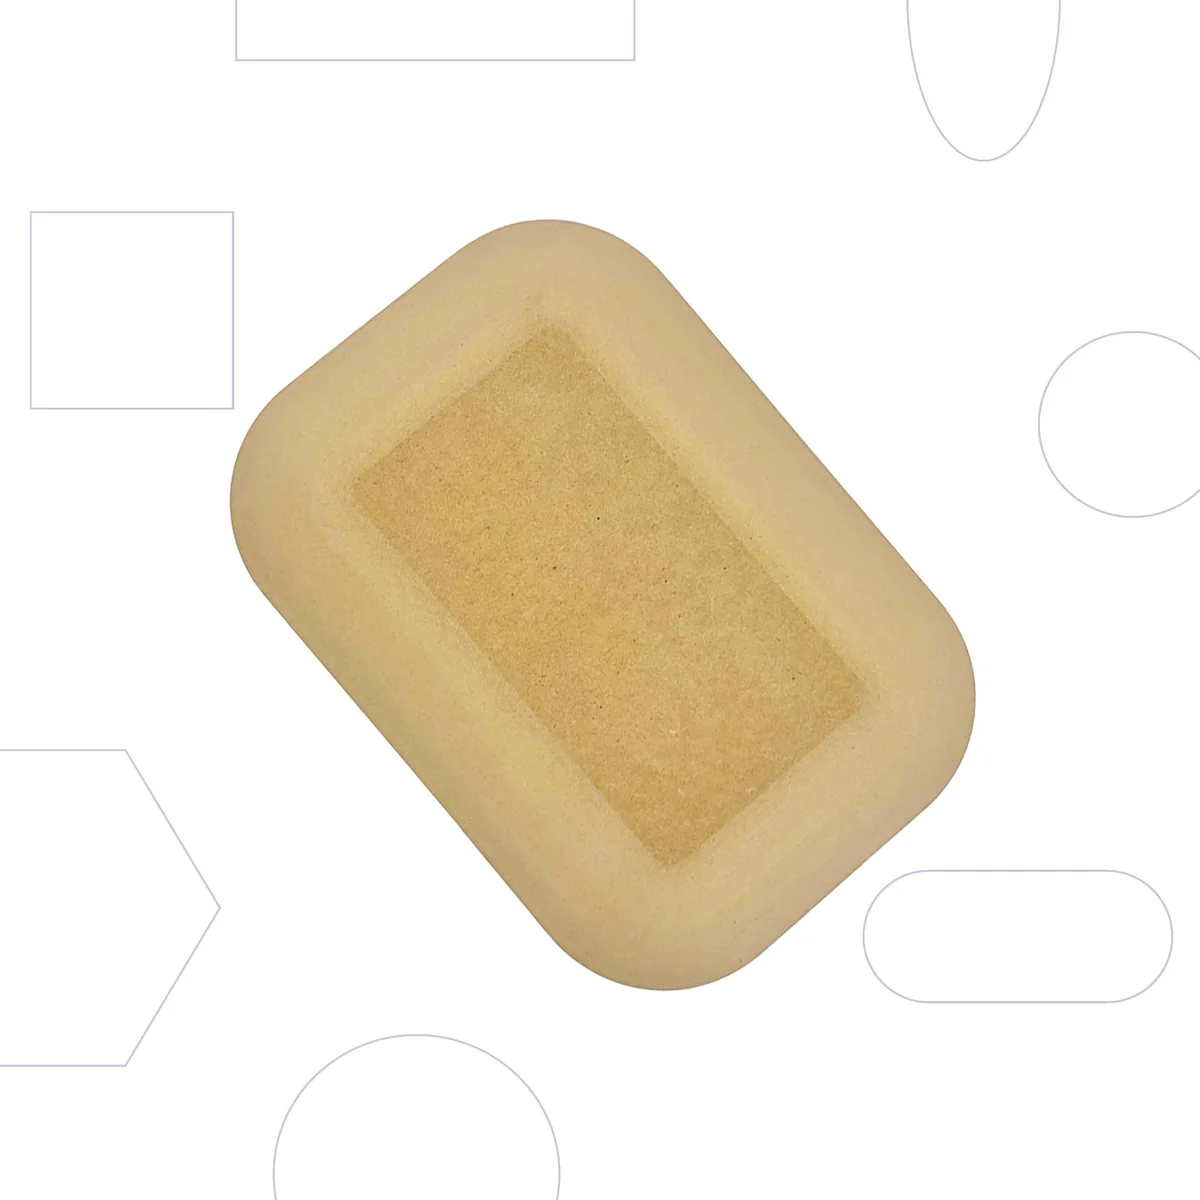
RD2 Rectangle
- VendorGR Pottery Forms
Quick Reference
Brand: GR Pottery Forms
Use: handbuilding
Material: Fiberboard
SKU: GRFRDR7X10
$12.95
- Shipped today? Order within:
Brand: GR Pottery Forms
Use: handbuilding
Material: Fiberboard
SKU: GRFRDR7X10
$12.95
They are plaster or fiberboard forms used to fashion shapes with clay. These forms and tools can be successfully used to create imaginative and unique clay pieces. Because of the absorbent nature of plaster, clay can be depressed into highly detailed sprig molds and lifted from the mold without sticking. Minute details can successfully be transferred from plaster to clay. The absorbent plaster forms help to assure an even and timely draw of moisture from the clay body, limiting cracks and sticking. Convex plaster forms are known as "hump molds" while concave plaster forms are known as "slump molds."
To select between a hump and a slump mold of the same shape, the artist must decide whether access to the inside surface (available with a slump) or the outside surface (available with a hump) is most important. Hump molds give the advantage of adding feet and handles to the outer surface of the piece. One must be sure to remove drying clay from a hump mold precisely at the leather-hard stage due to potential cracks from shrinkage strain. Slump molds allow the clay piece to dry with a limited risk of cracking because the clay is able to shrink away from the plaster wall.
Download a PDF below:
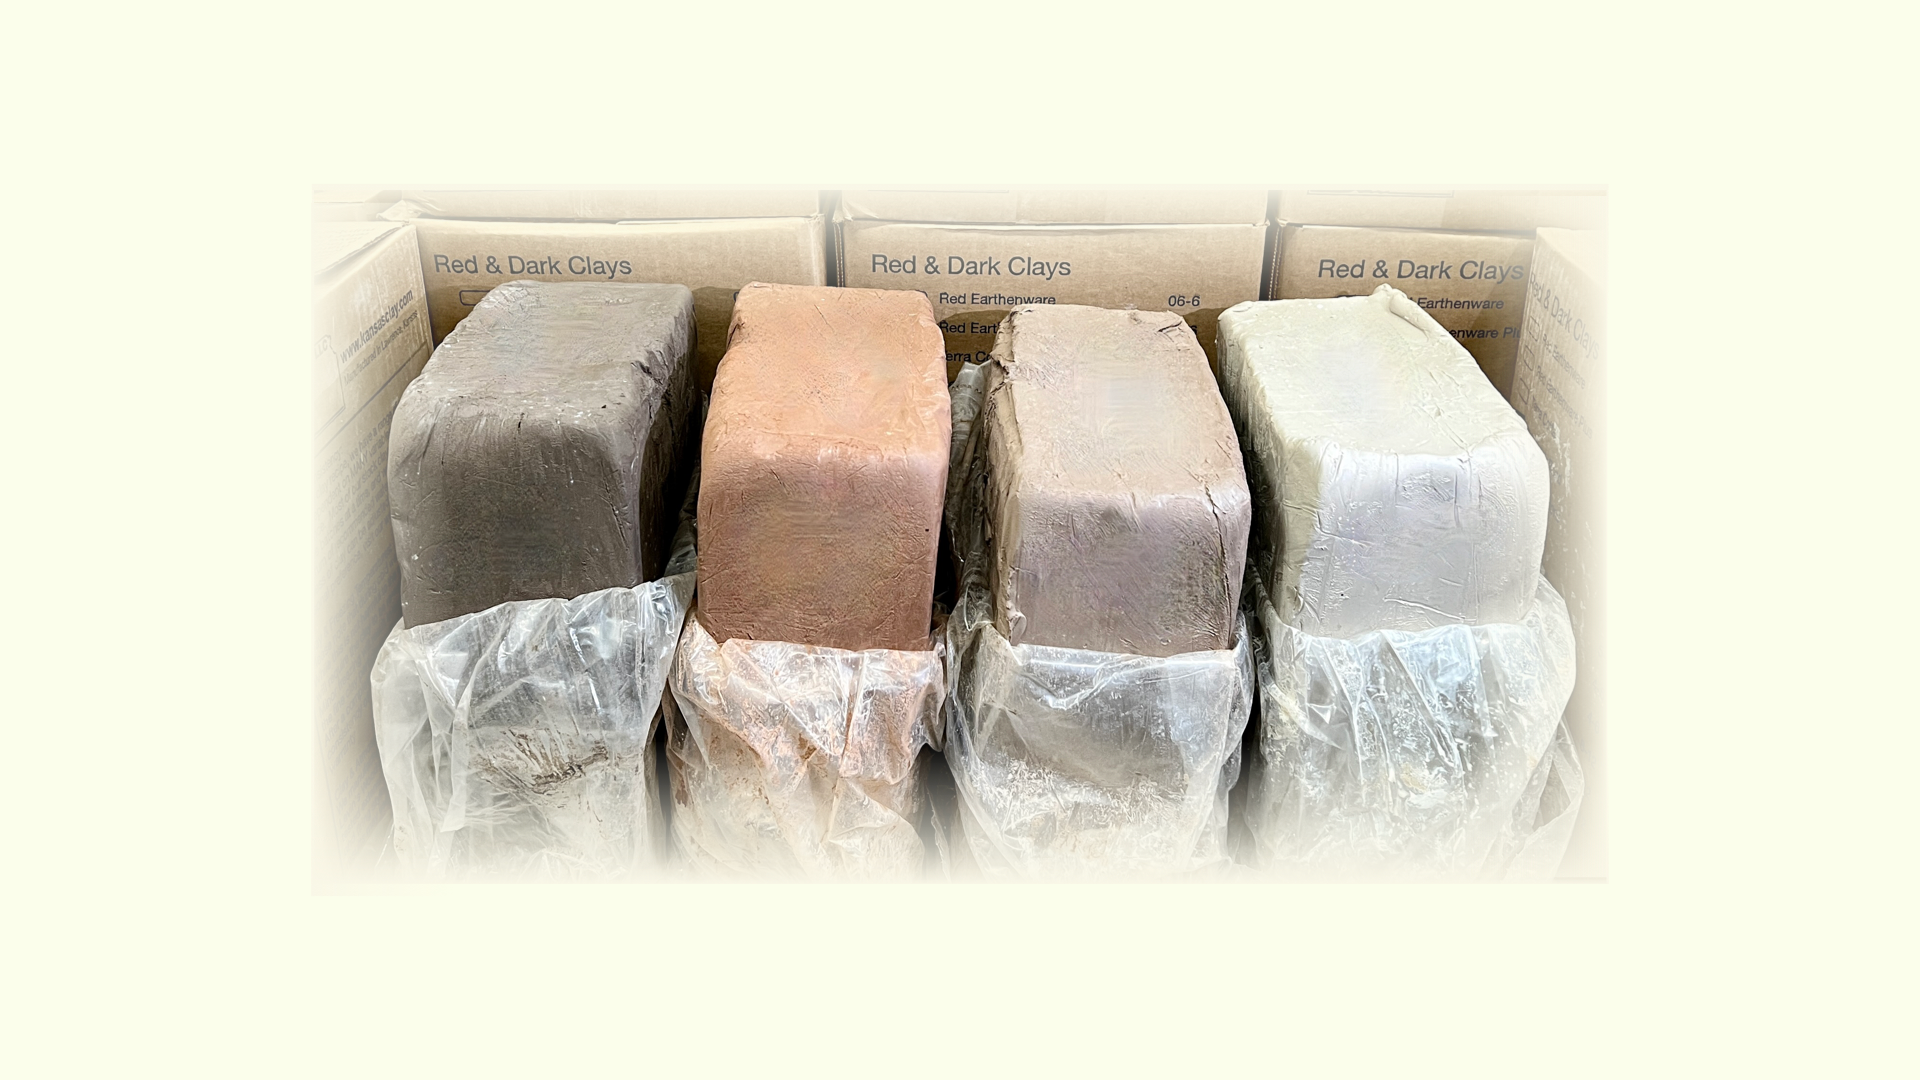
Step 1: Using a wire, slice off an appropriate amount of clay from a block of moist clay.
Step 2: Use the palms of your hands to slightly flatten the clay onto a piece of canvas.
Step 3: Begin rolling the clay using a large rolling pin. Press firmly and roll the entire length of clay.
Step 4: Roll twice and turn the clay over. Repeat until the clay is rolled to desired thickness (1/4"-3/8") and size. Compare clay dimensions to plaster or fiberboard form to assure proper coverage.
Step 5: Create any optional impressions, textures or patterns you wish on the clay side that will be facing the surface of the mold.
Step 6: Lift clay from canvas and place onto form.
Step 7: Use a sandbag to pounce the clay into/onto the plaster or fiberboard form. Pounce until smooth.
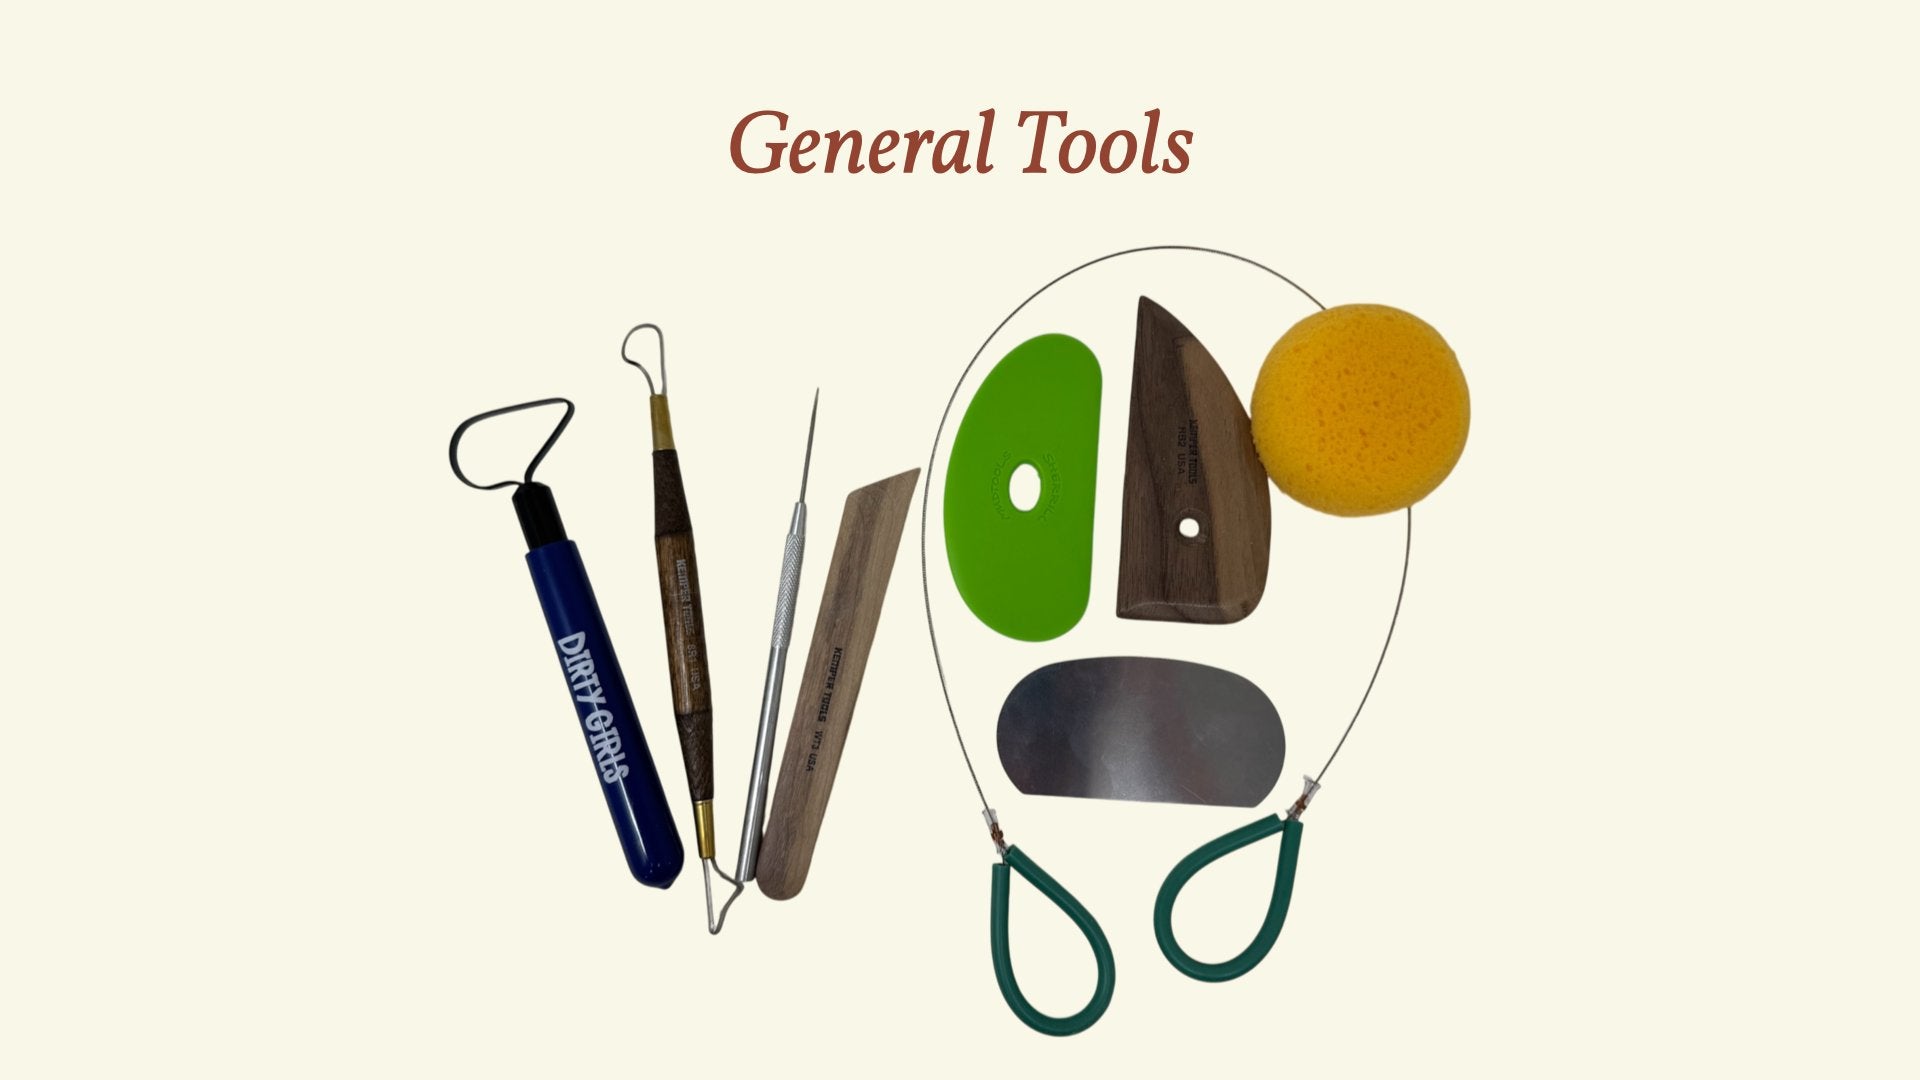
Step 8: Use a wooden fettling knife to cut the excess clay.
Step 9: Remove the excess clay and set aside.
Step 10: Use a moist sponge to smooth and clean the edges or other imperfections in the clay surface.
Step 11: Create any texture, patterns, impressions or add sprig designs to the clay surface exposed.
Note: You can also add a coil or "feet" to the bottoms of hump items. Simply roll out balls of clay or a coil, score both sides (scratch lines with a sharp tool), dab on a little slip and press the parts together. Make sure the piece is level by turning the clay (with the mold inside) over and pressing firmly on a flat surface.
Step 12: When the object is leather hard, remove it from the mold and clean the edges with a cleaning tool. Allow to dry completely before firing