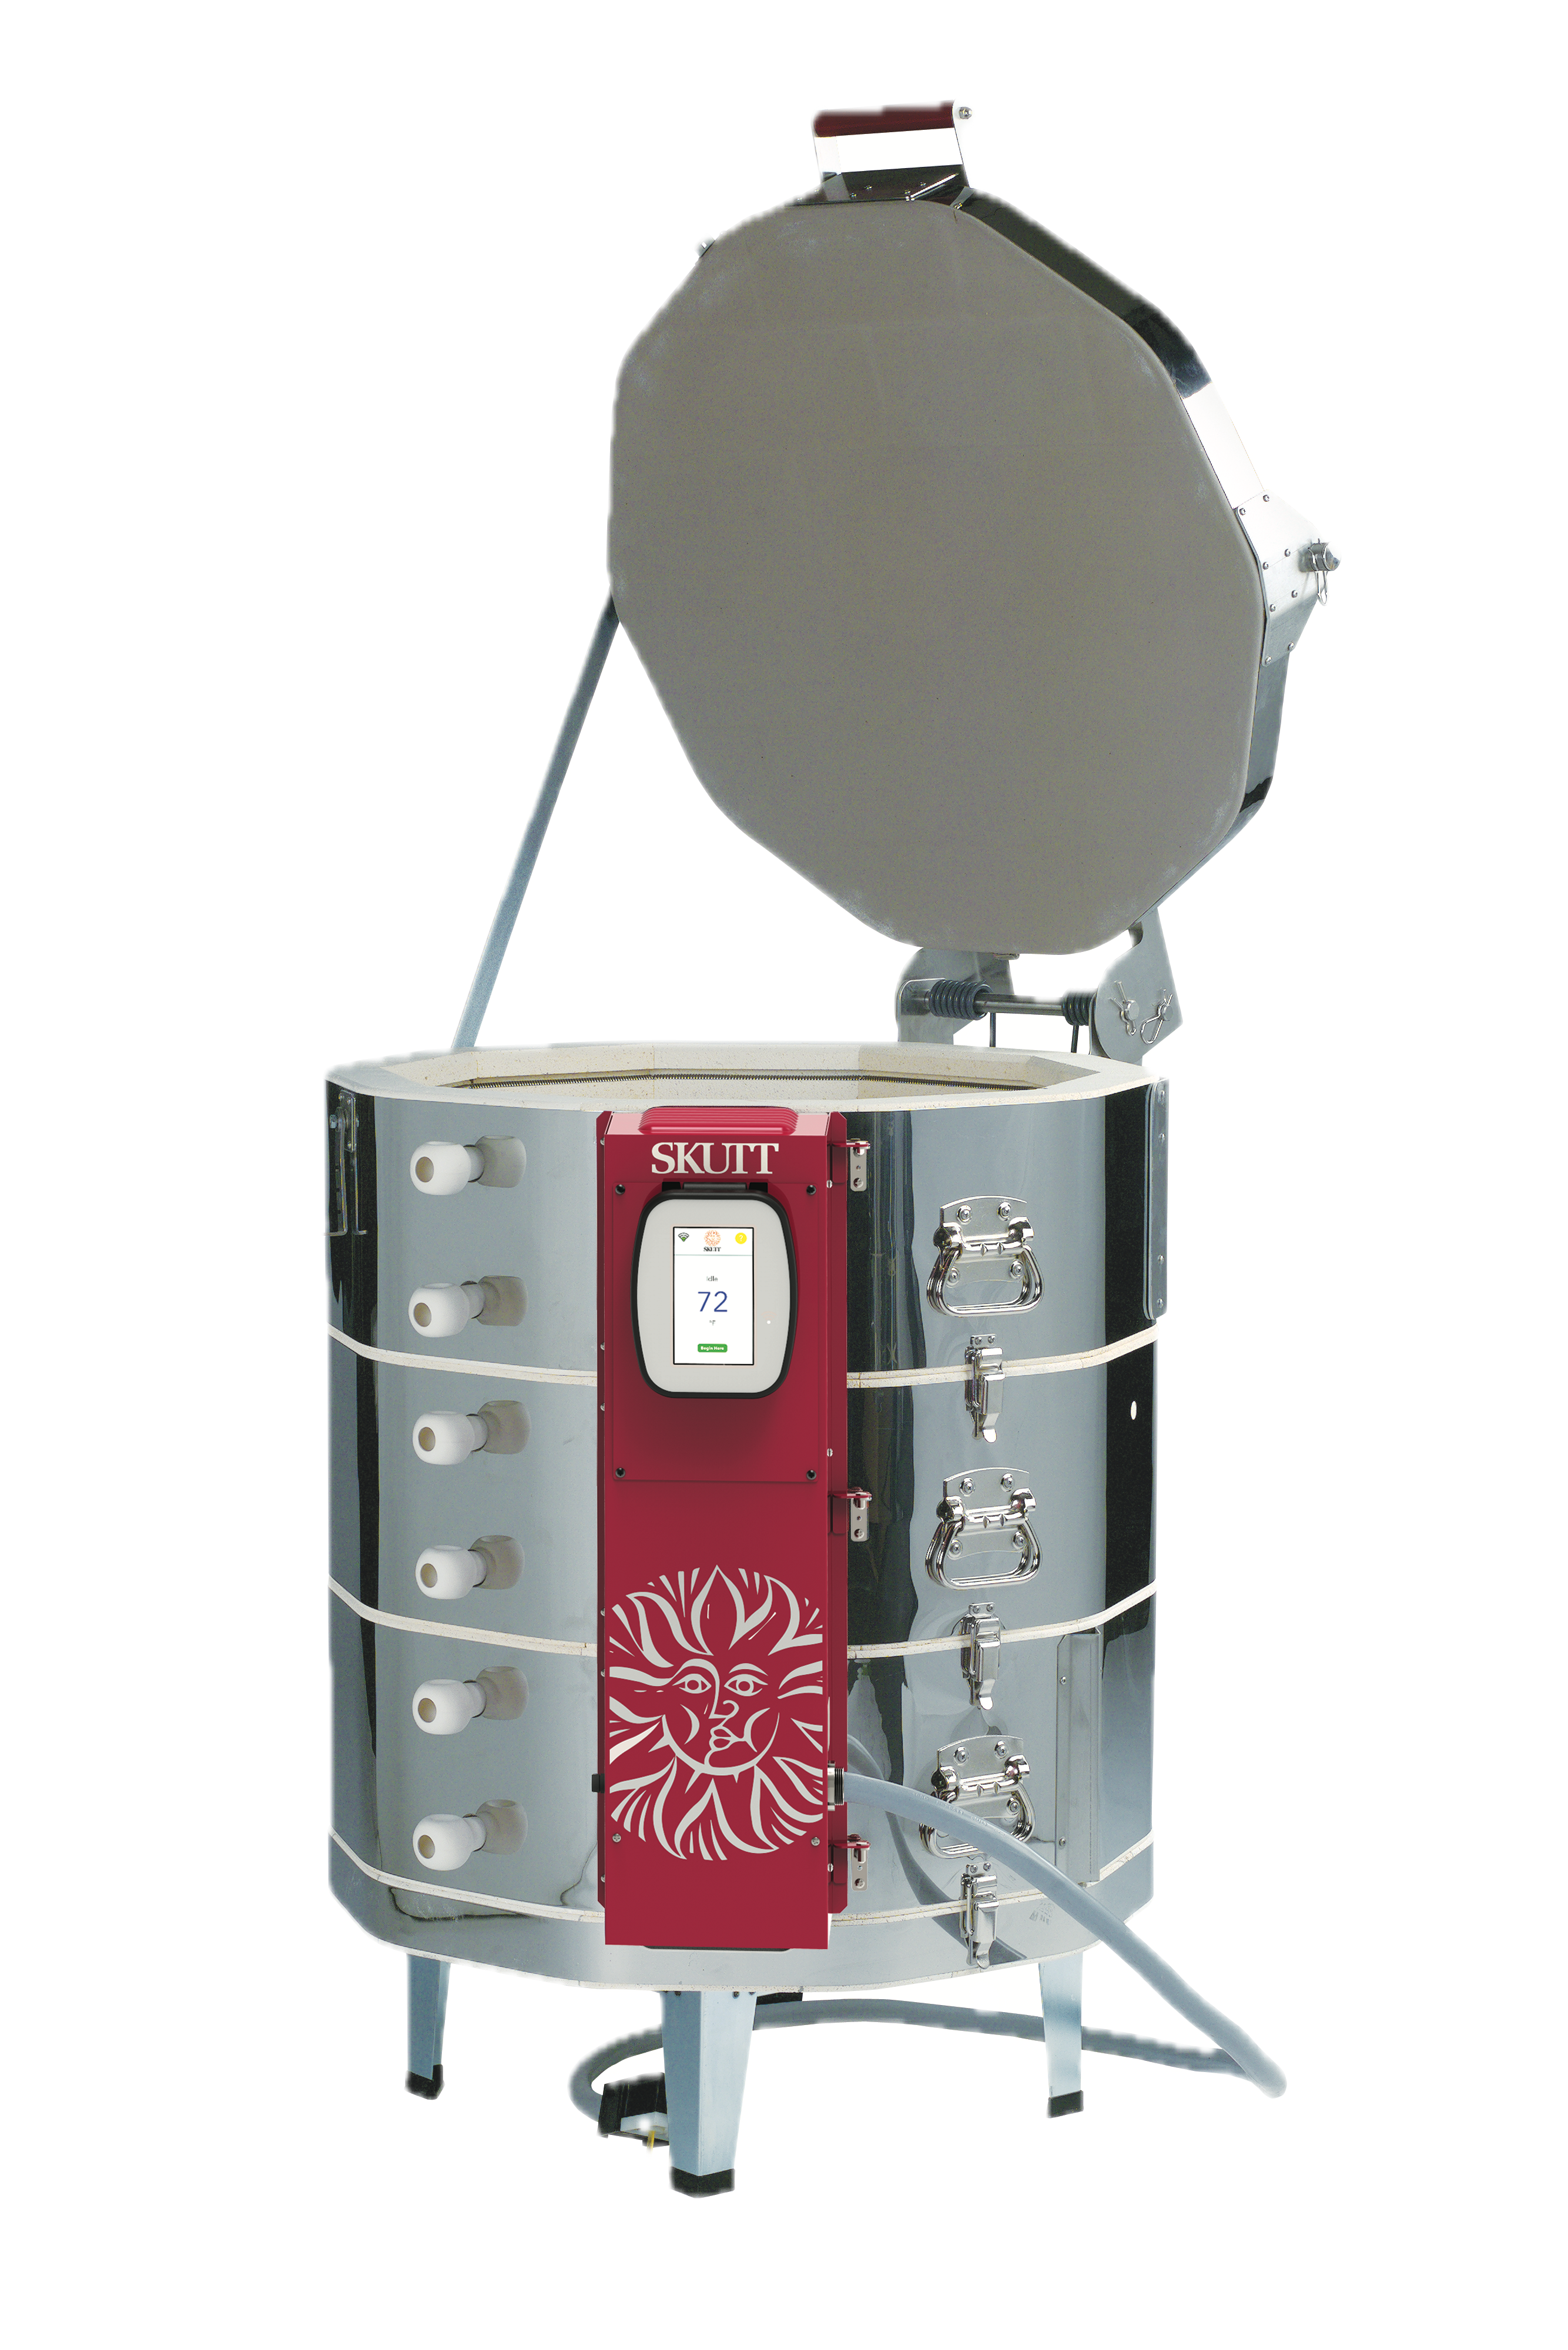
Skutt 818 Repair Bundle
Skutt 818 Repair Bundle
Share this product
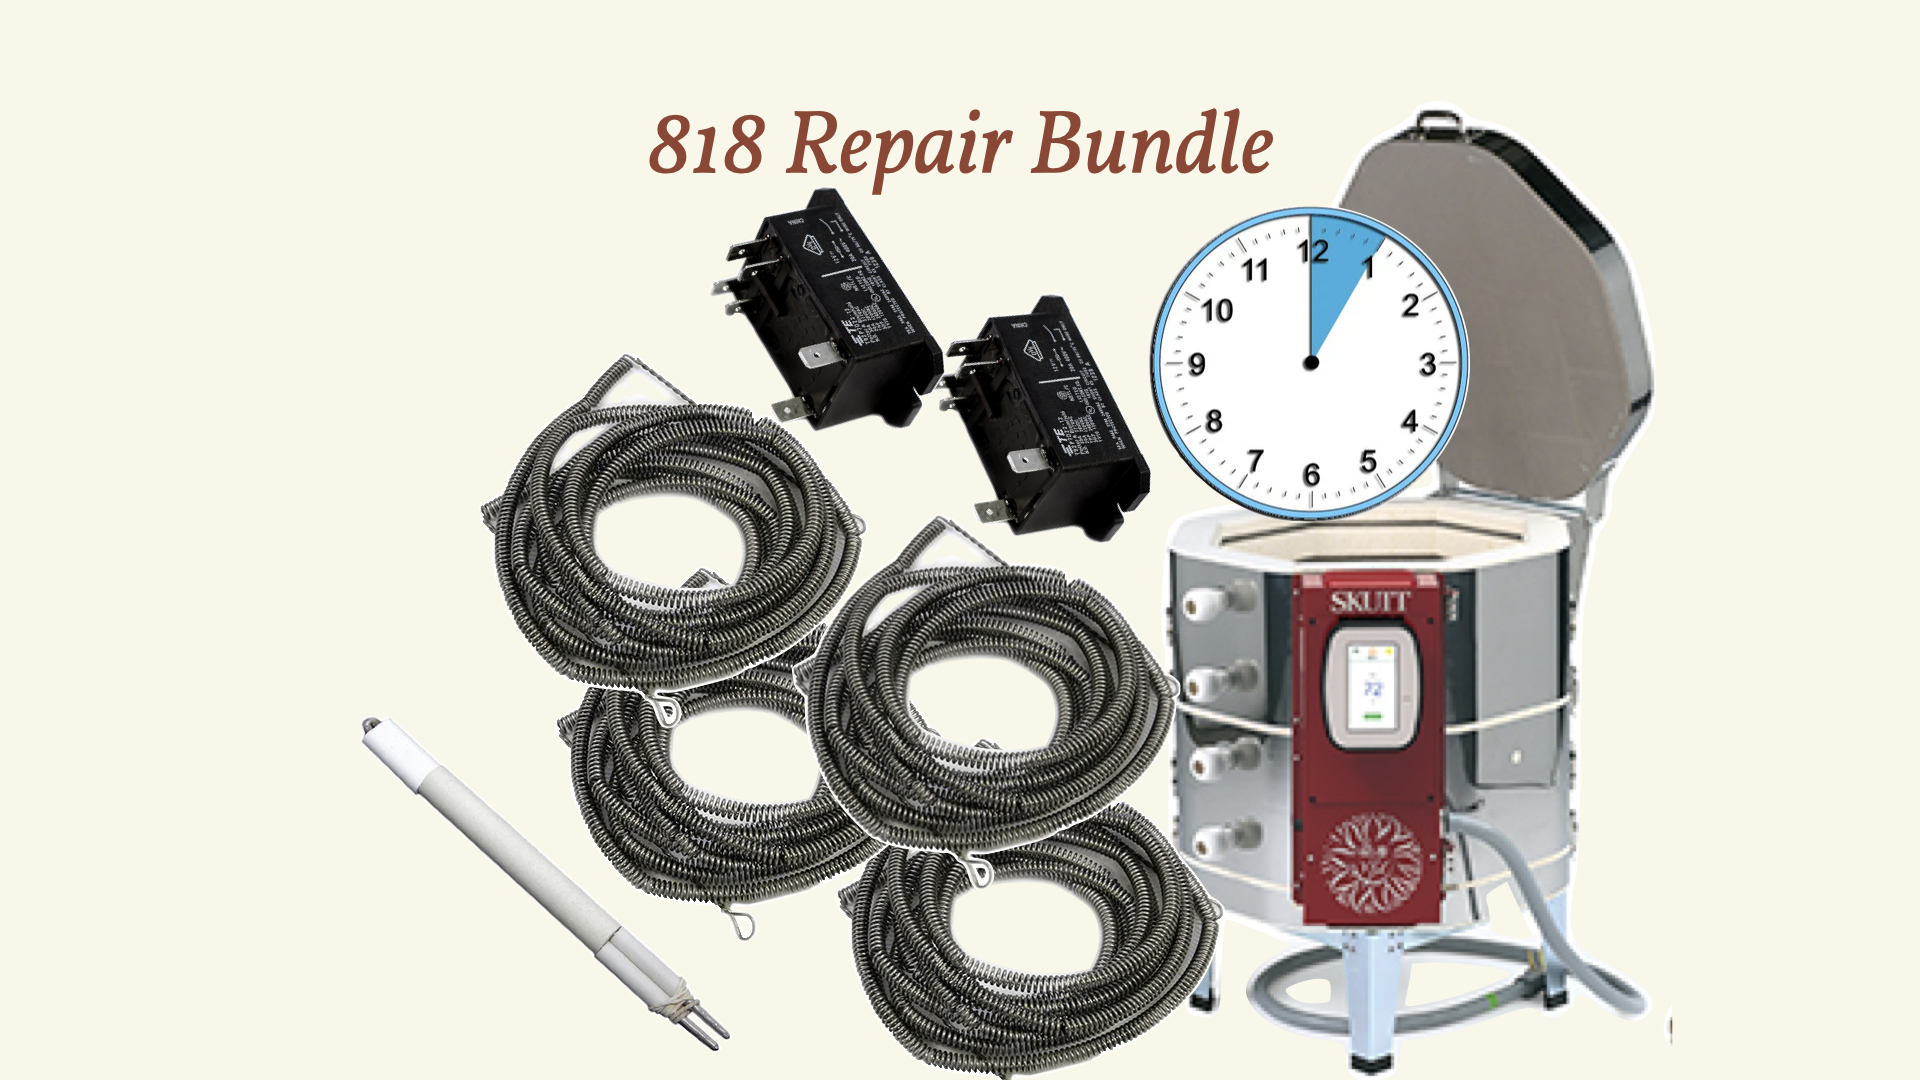
This Skutt 818 repair bundle packs every essential needed to revive your kiln and unleash its full power once again. Included are:
- a complete set of elements
- two relays
- a thermocouple
- BONUS 30-minute virtual session
Your virtual session will be scheduled with one of our kiln techs who can offer guidance and advice in advance or verify your installation after—giving you the confidence that everything is perfectly connected! (yes, we can split that into a 15 min prep call and a 15 min post review if you prefer)
Simply make a few selections below and upload a picture of your kiln's name plate and we will take care of the rest!
Is this your second element replacment?
Is this your second element replacment?
Feeder Wires have to be trimmed each time you replace your elements, so if you've done this once before, you might need a new set for subsequent element replacements. The wiring harness set contains all the wires that connect your relays to elements (via the terminal strip). So if you've replaed the relays a few times, it's probably time to replace those too. Lastly, check your power cord for signs of fraying anywhere, and if you see anything concerning, replace that too.
Don't worry, we are here to help you!
Repair tips from Dave (The TMI Edition)
Repair tips from Dave (The TMI Edition)
- ALWAYS disconnect the kiln from power OR flip the breaker to OFF before working on your kiln. If you flip the breaker, try turning the kiln ON (it shouldn’t turn on) before opening it up to be sure you flipped the correct breaker off.
- Loose connections are BAD connections. Make sure all crimps, terminals, nuts, mounting and set screws are nice and tight. Wires and elements should not be able to slip-out of their respective terminals/connections.
- Always replace mechanical relays at the same time you replace your elements. New elements are likely to pop an old or worn-out relay, so its prudent to replace them at the same time as your elements. NOTE - some kiln models use either solid-state or Mercury relays that do not need to be replaced unless they go out.
- Verify that you are putting the element in the correct position in the kiln. Many kilns use specific elements in specific positions in the kiln. Putting them in the wrong place will cause firing issues, AND can damage other components in your kiln.
- If a wire or connection looks blackened, discolored, frayed, heat-damaged, crusty, bubbled, corroded, stripped, or rusted, replace that part! REMEMBER, the hardware and wire inside your kiln is NOT the standard fare you can find at any hardware store. You can purchase the proper kiln hardware through your local distributor.
- Take photos of the connections before you remove anything. Use it as a reference to ‘put things back the way you found them’. Make sure to LOOK at the photo to ensure you can see everything before you start. Better still, get the wiring diagram for your kiln so you can always be sure.
- If you are short, or have shorter arms, its a lot easier to take the lid and top section off of your kiln in order to reach the bottom without damaging the brick.
- Kiln elements, screws, and sheet metal can be sharp. Use caution so you don’t cut yourself.
- If there is ANY debris in the element grooves, you need to remove it before installing new elements. Additionally, if you have glaze or clay that has melted into an element holder (if your kiln has one), the holder needs to be replaced, or chipped out, before installing new elements.
Repair tips from Dave (the TL:DR edition)
Repair tips from Dave (the TL:DR edition)
- Always disconnect the kiln from power OR flip the breaker to OFF before working on your kiln
- Always replace Mechanical Relays and thermocouples at the same time you replace your Elements.
- If a wire or connection looks blackened, discolored, frayed, heat-damaged, crusty, bubbled, corroded, stripped, or rusted, replace that part!
- Take photos of the connections before you remove anything. Use it as a reference to ‘put things back the way you found them’. Better still, get the wiring diagram for your kiln so you can always be sure!
- If you run into trouble, we can help
Your payment information is authorized at checkout, your order is then reviewed by staff, and your payment is processed securely after your order is confirmed. We do not store credit card details nor have access to your credit card information.
Tips for Repairing a Skutt Kiln
- ALWAYS disconnect the kiln from power OR flip the breaker to OFF before working on your kiln.
- KM and KMT elements come with a packet containing 2 porcelain insulators, 2 crimp-connectors, and enough element pins to install the element
- PK elements come with 2 porcelain insulators, and enough element pins to install the element.
- Make sure to get the element connectors crimped on very tight! You want to make sure they cannot slip off of the new element.
- Verify the slip-on connections at the relays, and the terminal strip, are VERY snug. A loose connection will cause problems, and can ruin your brand new element or relay.
- Feeder Wires should be replaced every 3rd element set OR if the tips start to darken. PK kilns use Buss Bars, and these should be replaced every 3rd element set OR if a bolt starts to turn dark where the element passes through.
- The terminal strip should be replaced if any of the wire terminals become dark, or if the strip itself starts to bubble or turn white.
- Thermocouples should be changed out at the same time as the elements IF NOT more frequently. You ought to get roughly 75-100 firings out of a thermocouple under normal use.
- Relays - You should look at yours to verify you are ordering the correct style. In general, if the top of your control box has 5 slots, you need the Deltrol (Ice Cube) style relay. If it has 6 slots, it needs P&B relays. PK kilns use a completely different relay (Mercury OR solid state based on the kiln’s age), and they are NOT interchangeable.

Tips for Repairing a Cone Art
- ALWAYS disconnect the kiln from power OR flip the breaker to OFF before working on your kiln.
- This kiln does not use element pins. Be very careful when removing the old elements so you don’t damage the kiln brick. No matter how careful you are, some brick groove damage will be inevitable You might consider having some element pins on hand in case the bricks wear down
- ConeArt elements do NOT come with new copper element connectors. Inspect yours prior to ordering elements. They will discolor over time through use. If they become darkened, green, or start to split, replace the connector.
- Make sure to get the element connectors back on very tight, and verify the slip-on connections at the relays are VERY snug. A loose connector will cause a problem, and can ruin your brand new element or relay.
- It is handy to remove the porcelain element sleeves when changing the element. Note that new elements do not come with replacements, and these can break if handled roughly or dropped.
- I recommend replacing the mechanical relays at the same time you replace your elements. New elements are likely to pop an old or worn-out relay, so its prudent to replace them at the same time as your elements.
- Thermocouples should be changed out at the same time as the elements IF NOT more frequently. You ought to get roughly 75-100 firings out of a thermocouple under normal use.
Tips for Repairing an L&L
- ALWAYS disconnect the kiln from power OR flip the breaker to OFF before working on your kiln.
- This kiln does not use element pins. HOWEVER, I find it helpful to have a small number on hand in case you have to chip out part of an element holder, and don’t have a replacement. You can pin the element in place.
- It is essential that you change your elements when they need to be changed. Firing past their usable lifecycle can allow the elements to deform and become out-of-round. This can make it hard to remove the elements from their grooves, especially on the older models of L&L which used an element holder with a much narrower gap.
- Be careful when removing the hardware at the element terminal block. Pliers can slip off of the nut and damage the bolt thread. I recommend keeping a couple of element terminal hardware sets on hand. If you find the threads of your bolt is fouled, and the nut won’t come off, just cut off the bolt itself and replace it.
- If your element terminal block is cracked, it needs to be replaced at the same time you replace your elements. Don’t try to rig-one up to hold…it won’t Different era kilns used different style terminal blocks, and they are not all interchangeable with each other.
- L&L elements for their polygonal units come stretched for 3” firebrick walls. If you have a 2.5” firebrick model, you will need to stretch the element a little more so it will fit. See the element installation instructions for more details.
- I recommend replacing the mechanical relays at the same time you replace your elements. New elements are likely to pop an old or worn-out relay, so its prudent to replace them at the same time as your elements.
- Thermocouples should be changed out at the same time as the elements IF NOT more frequently. You ought to get roughly 75-100 firings out of a thermocouple under normal use. IF you have a unit with a close-ended protection tube, make sure to pour the debris out of it when you change your thermocouples. This collection of debris is normal as the thermocouples age, but it will interfere with a new thermocouple if left in the tube. There is no need to remove it until you change your thermocouple.