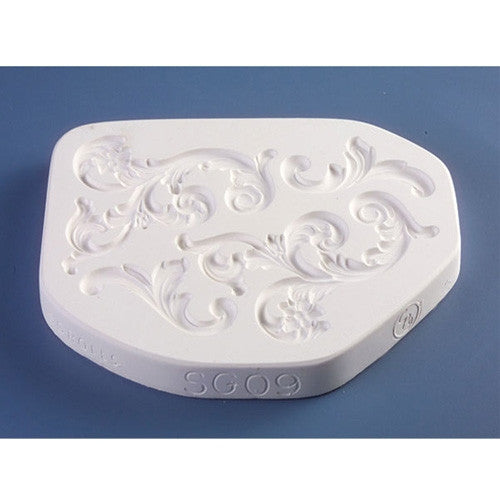
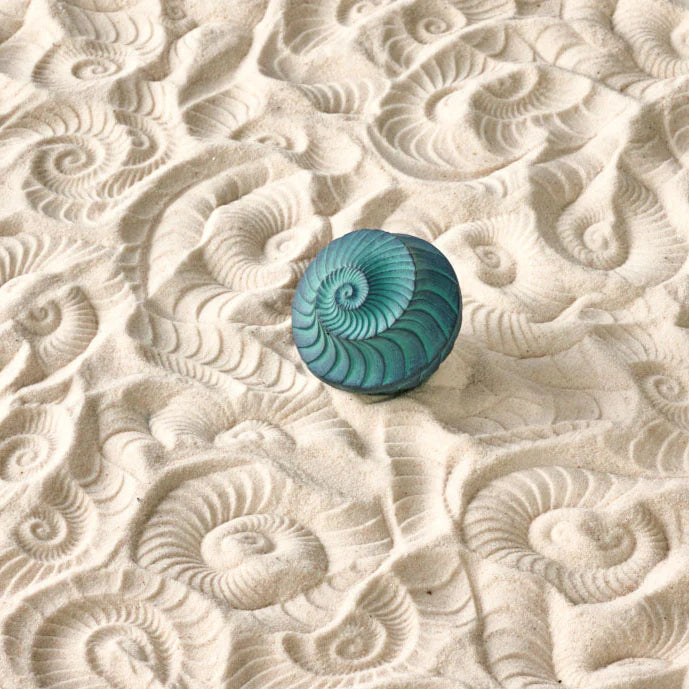
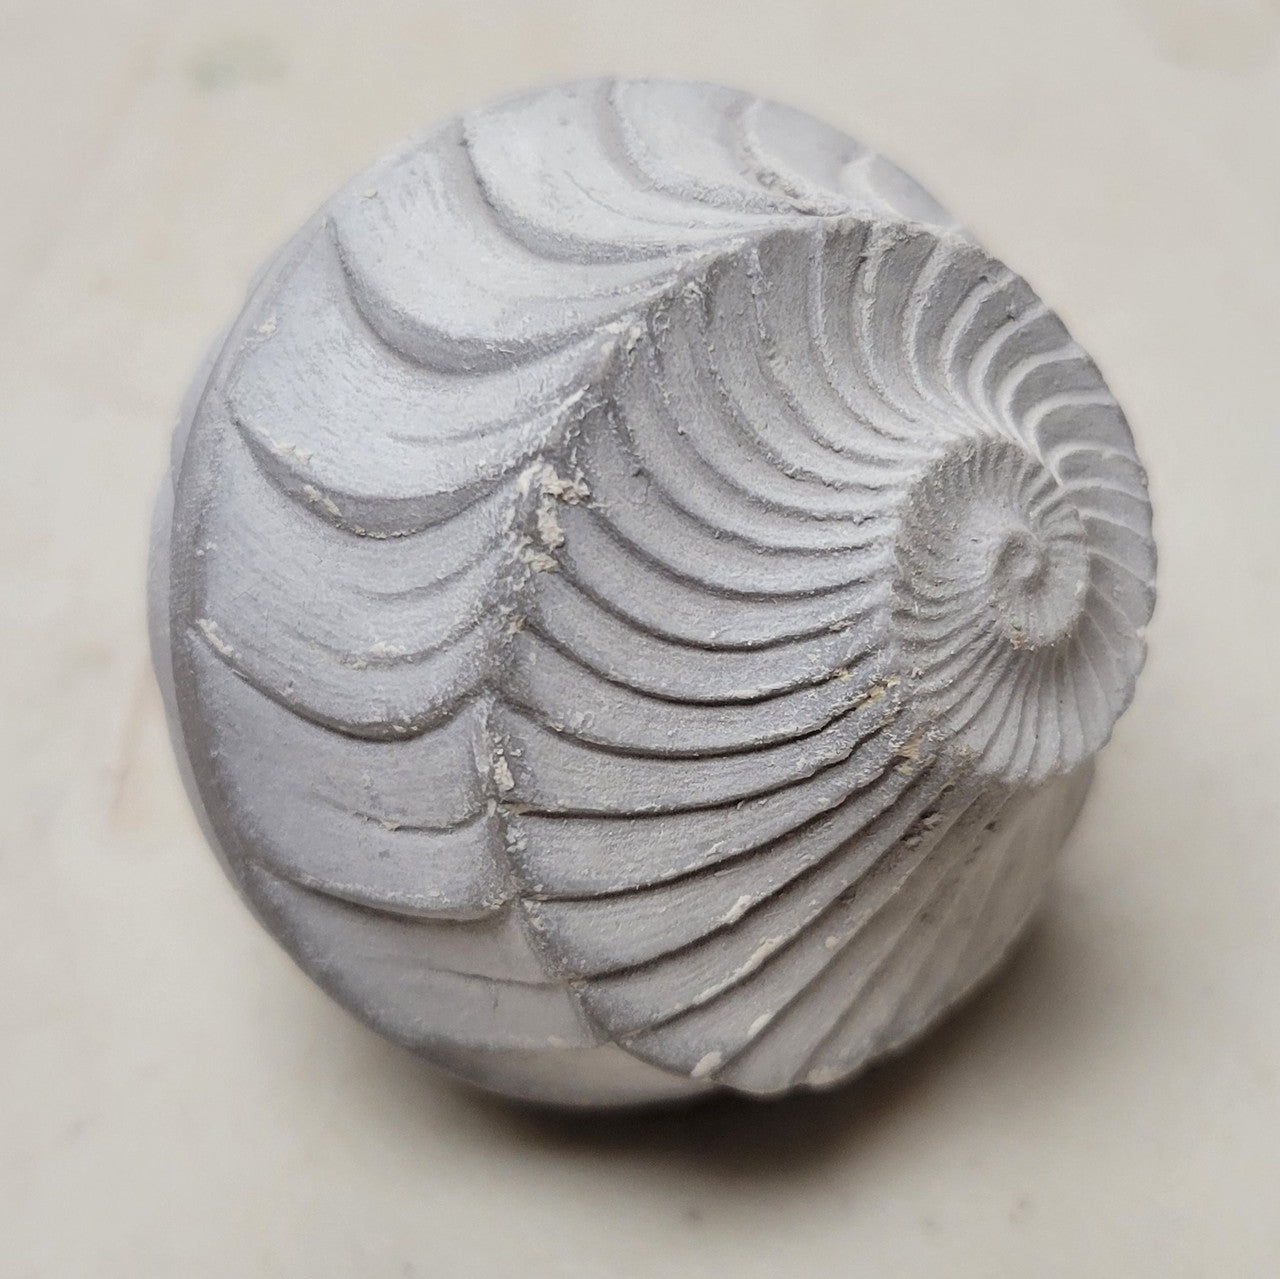
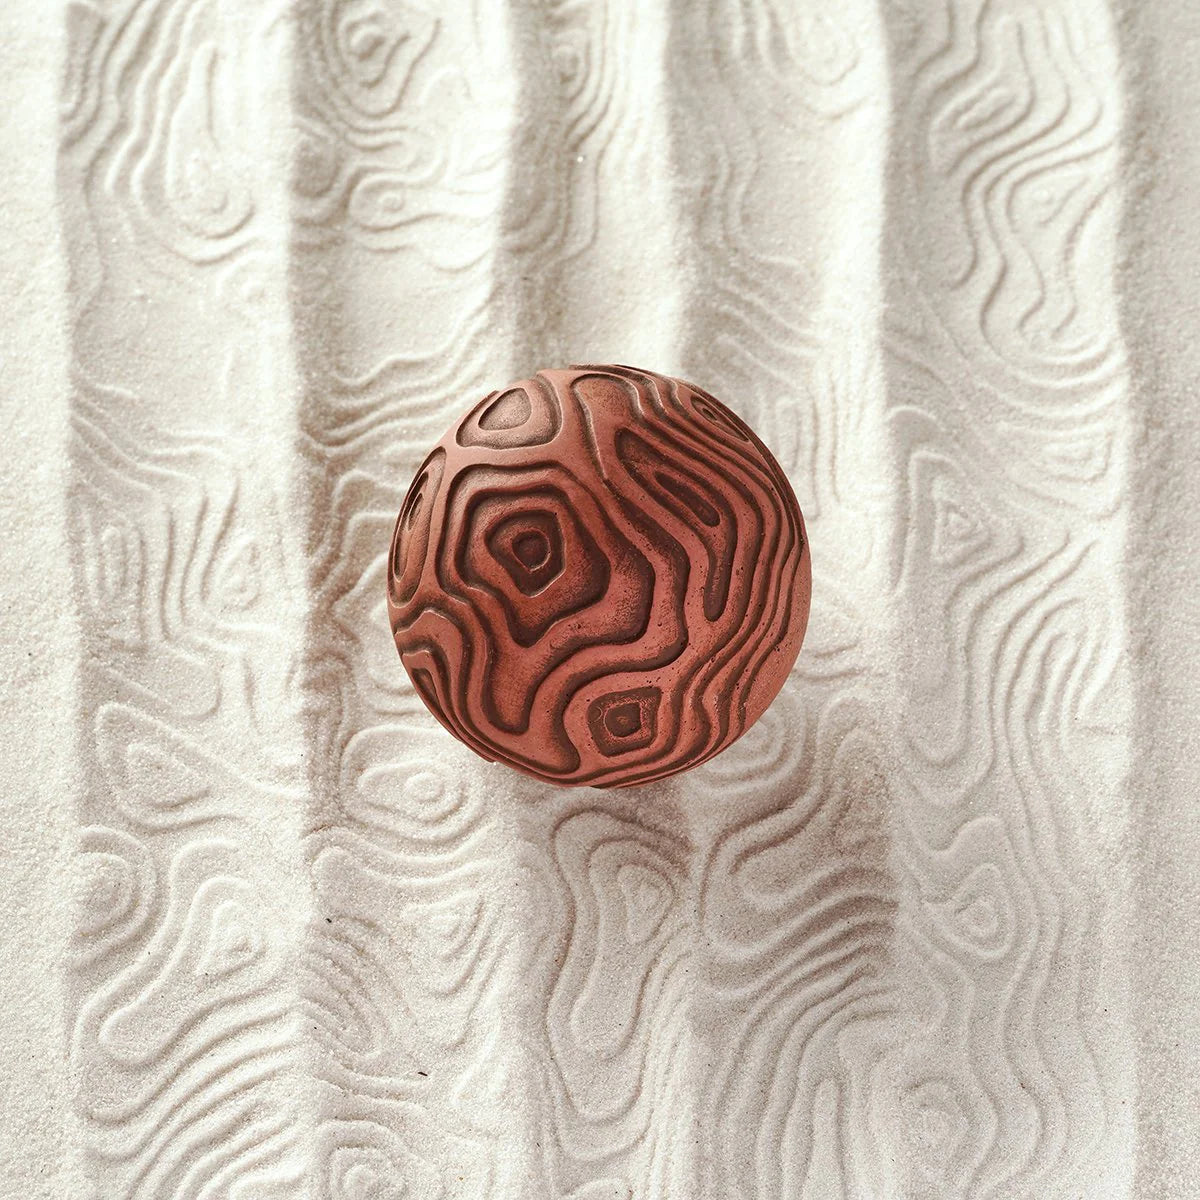
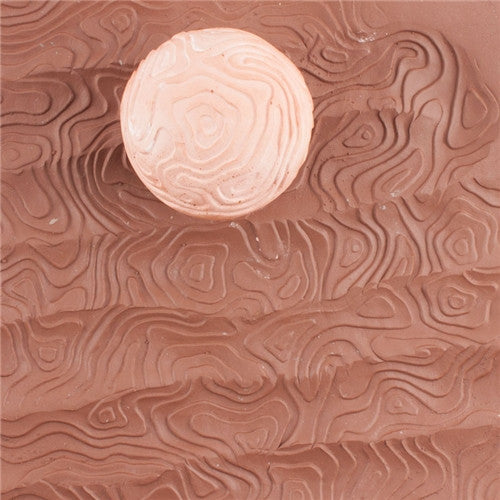
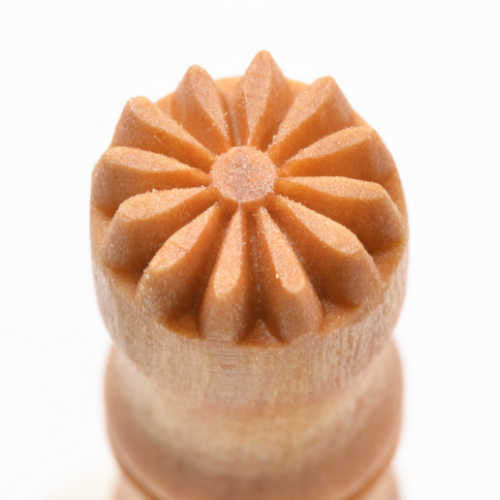
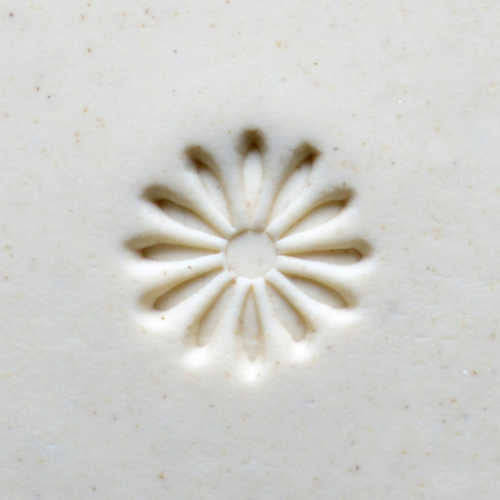
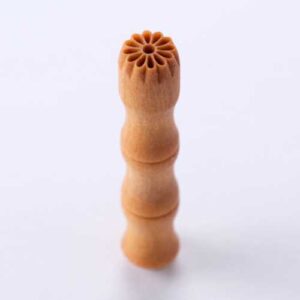
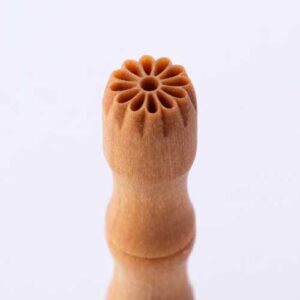
Dragon Sprigmold SG25
Dragon Sprigmold SG25
Share this product
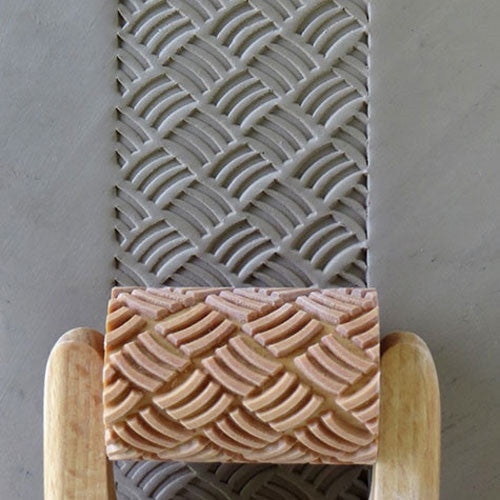
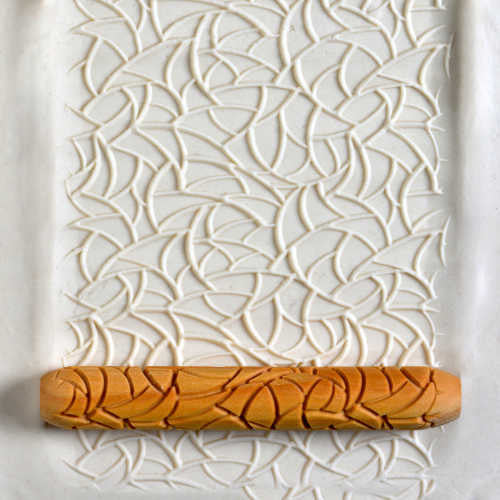
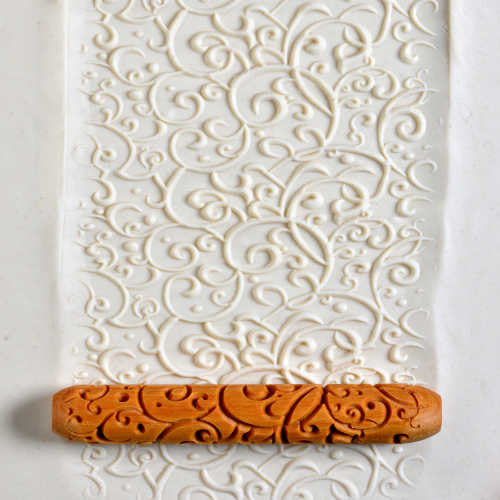
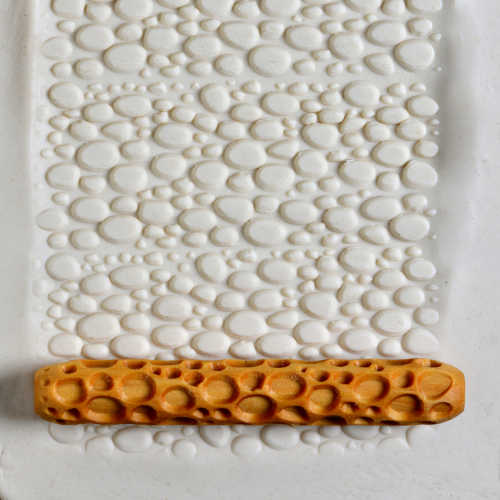
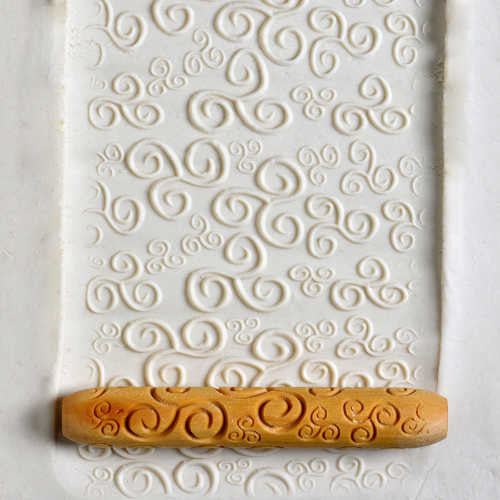
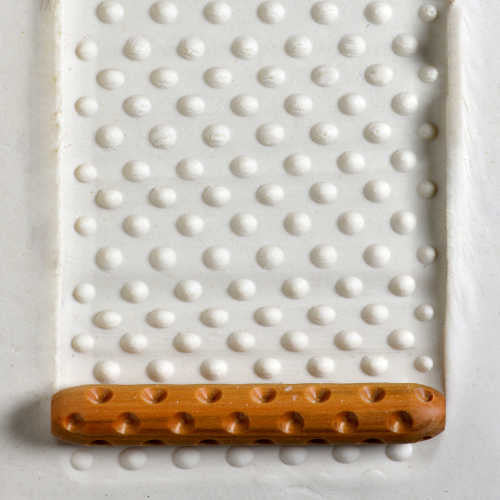
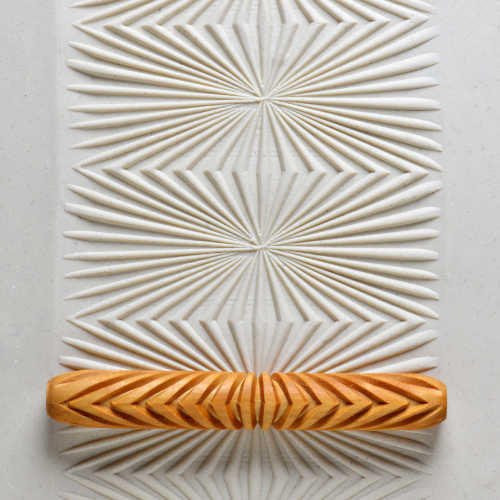
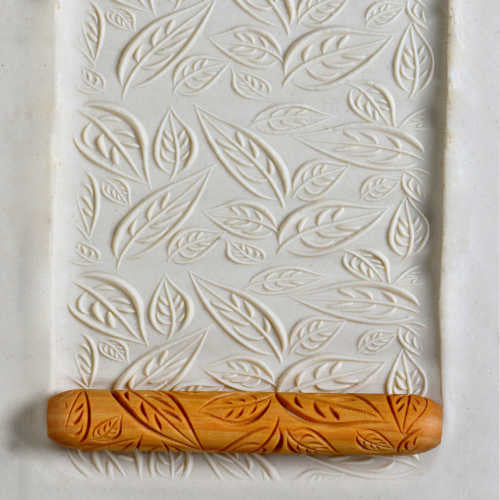
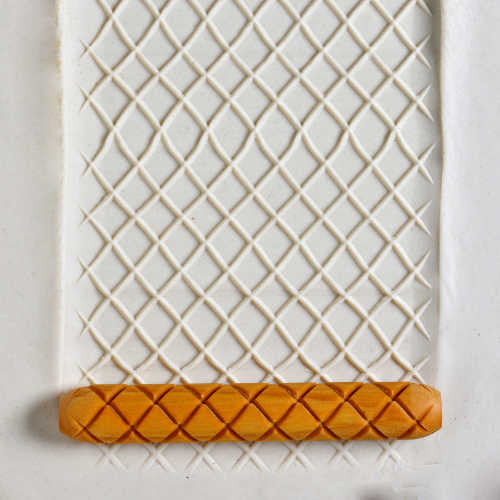
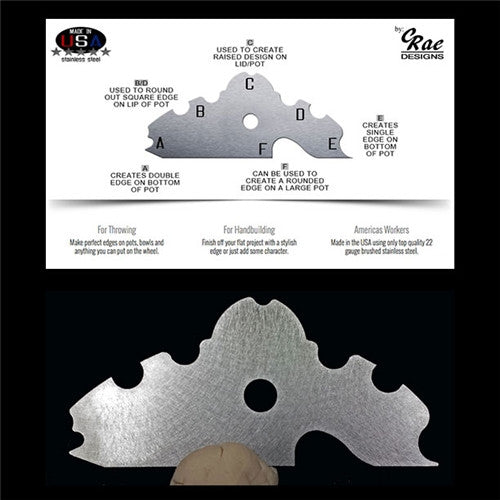
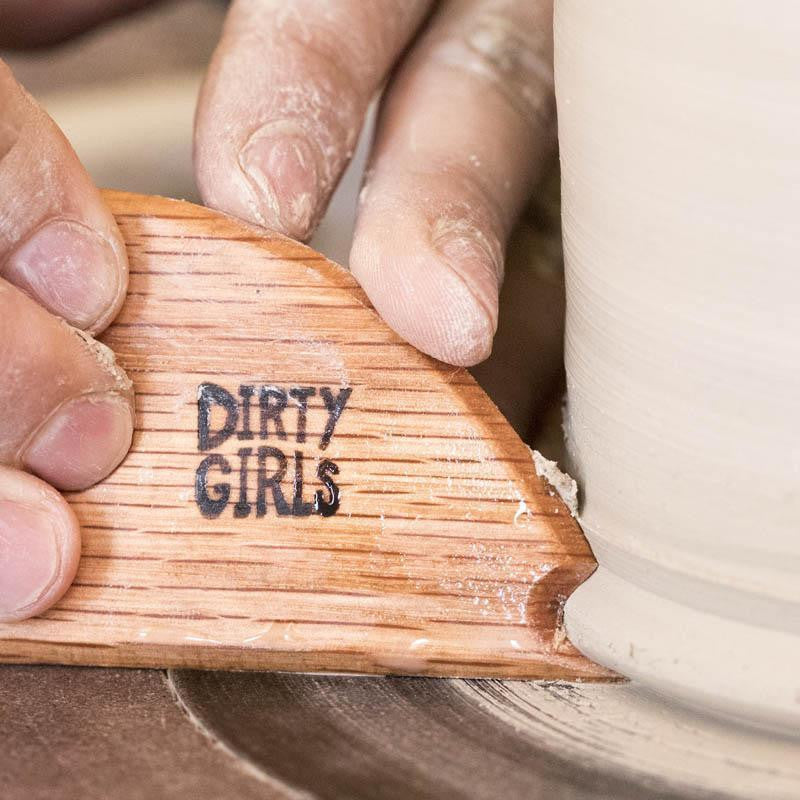
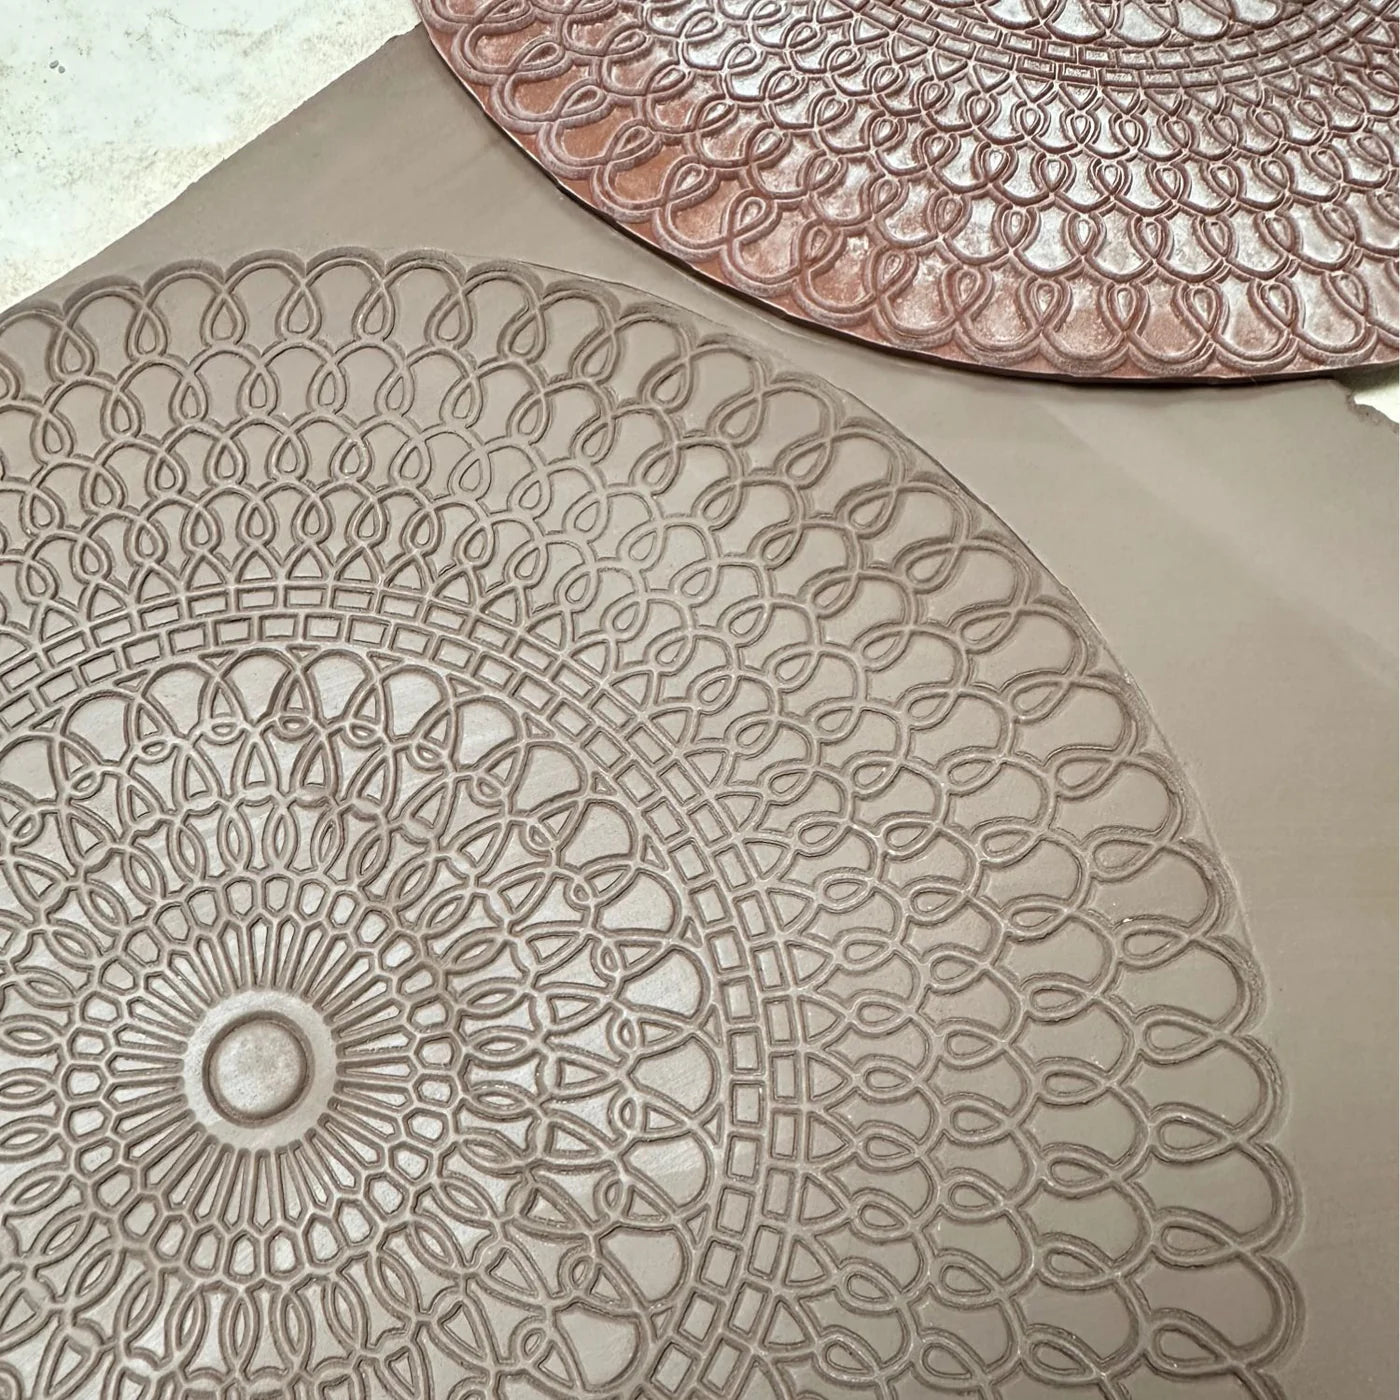
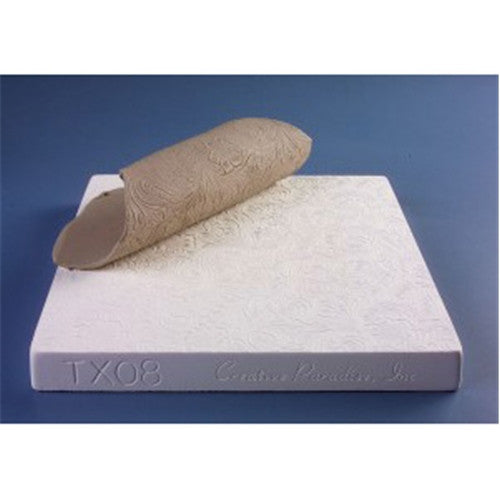
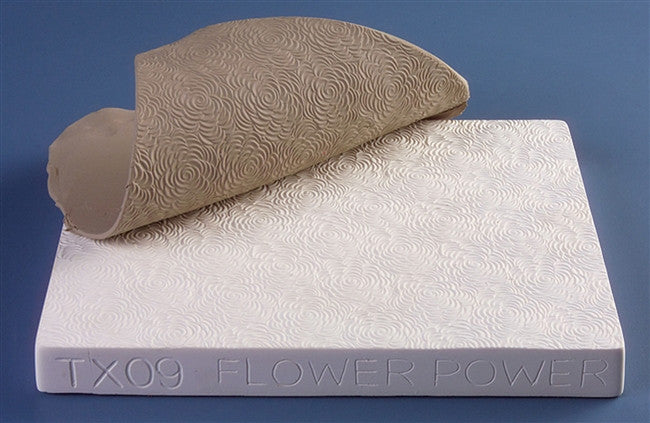
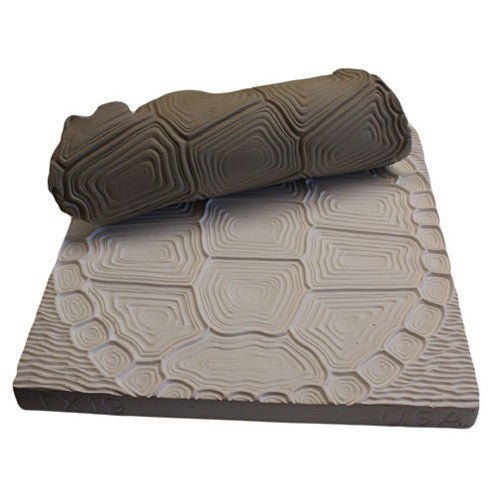
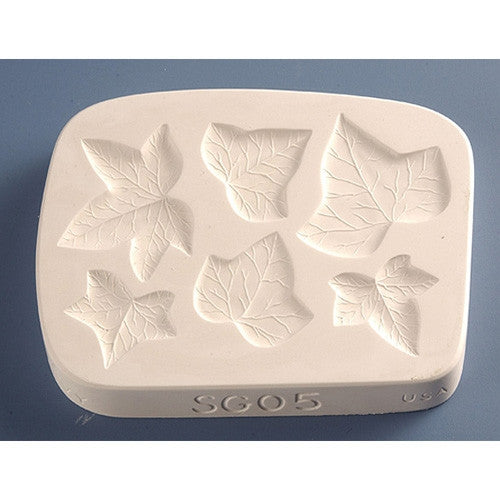
To transfer the design to your clay slab, place slab on mold, and either use a heavy clay roller, or press firmly with your hands. Remove clay from mold and add onto any form you desire.
Regular price
$36.00
Sale price
$36.00
Regular price
Hurry up, only 1 item left in stock.
Payment & Security
Payment methods
Your payment information is authorized at checkout, your order is then reviewed by staff, and your payment is processed securely after your order is confirmed. We do not store credit card details nor have access to your credit card information.
Explore Texture by Theme / Style
Texture by tool type
Choose your option
Choose your option
Choose your option
Choose your option
Choose your option
Choose your option
Choose your option
Choose your option
Choose your option
Choose your option
Choose your option

Choose your option
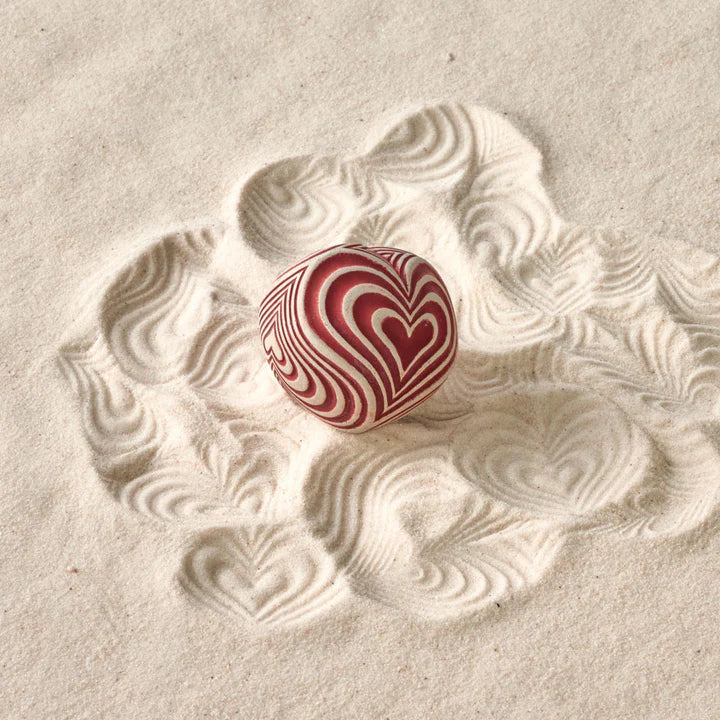
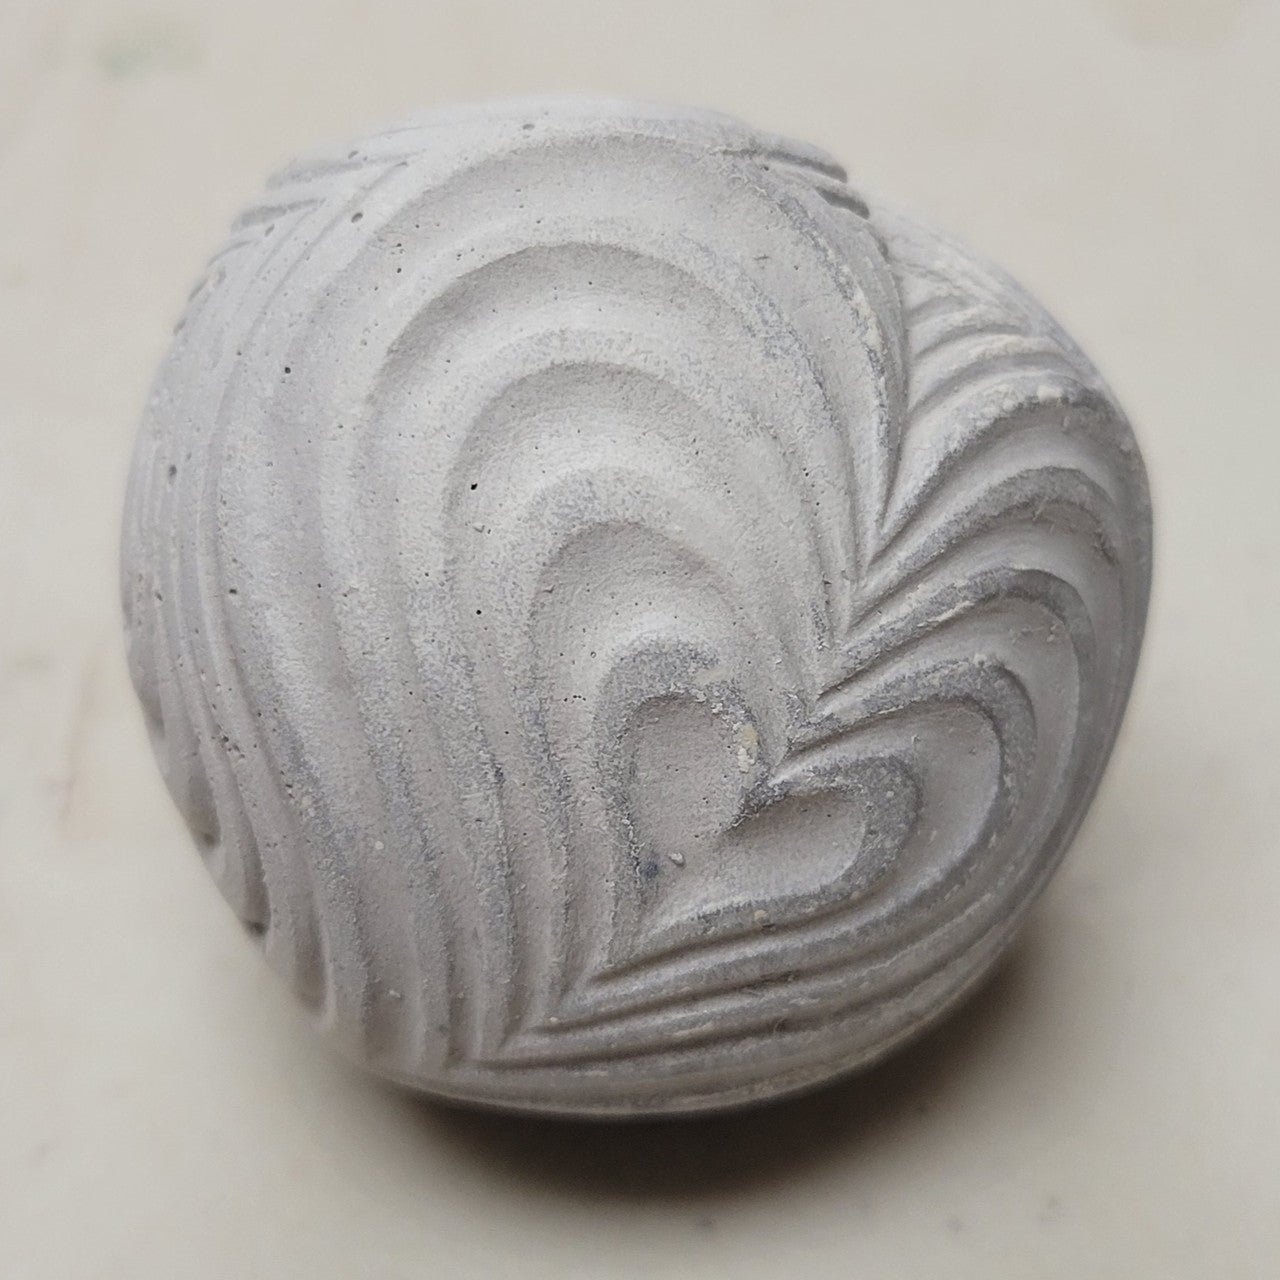
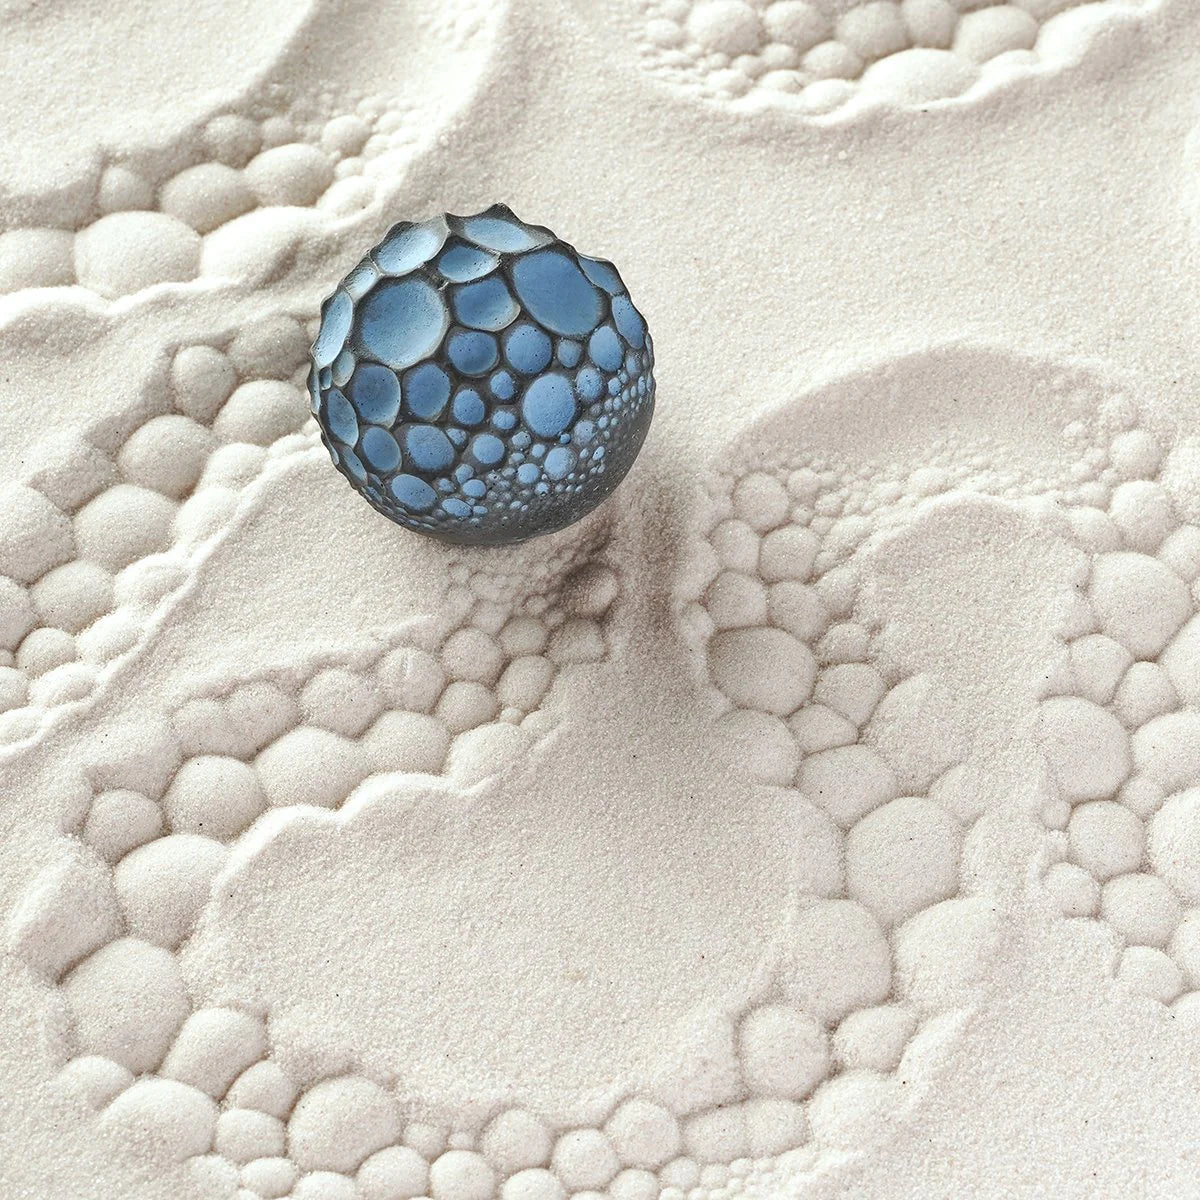
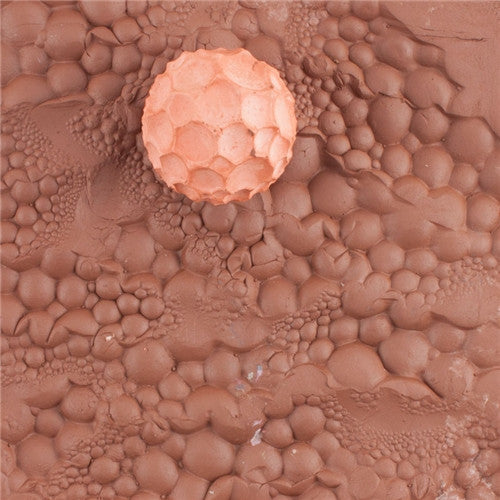
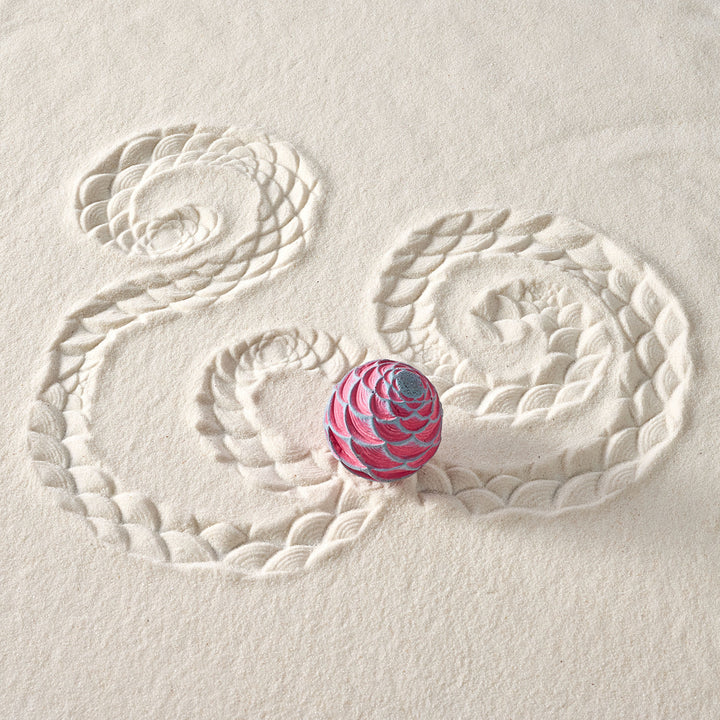
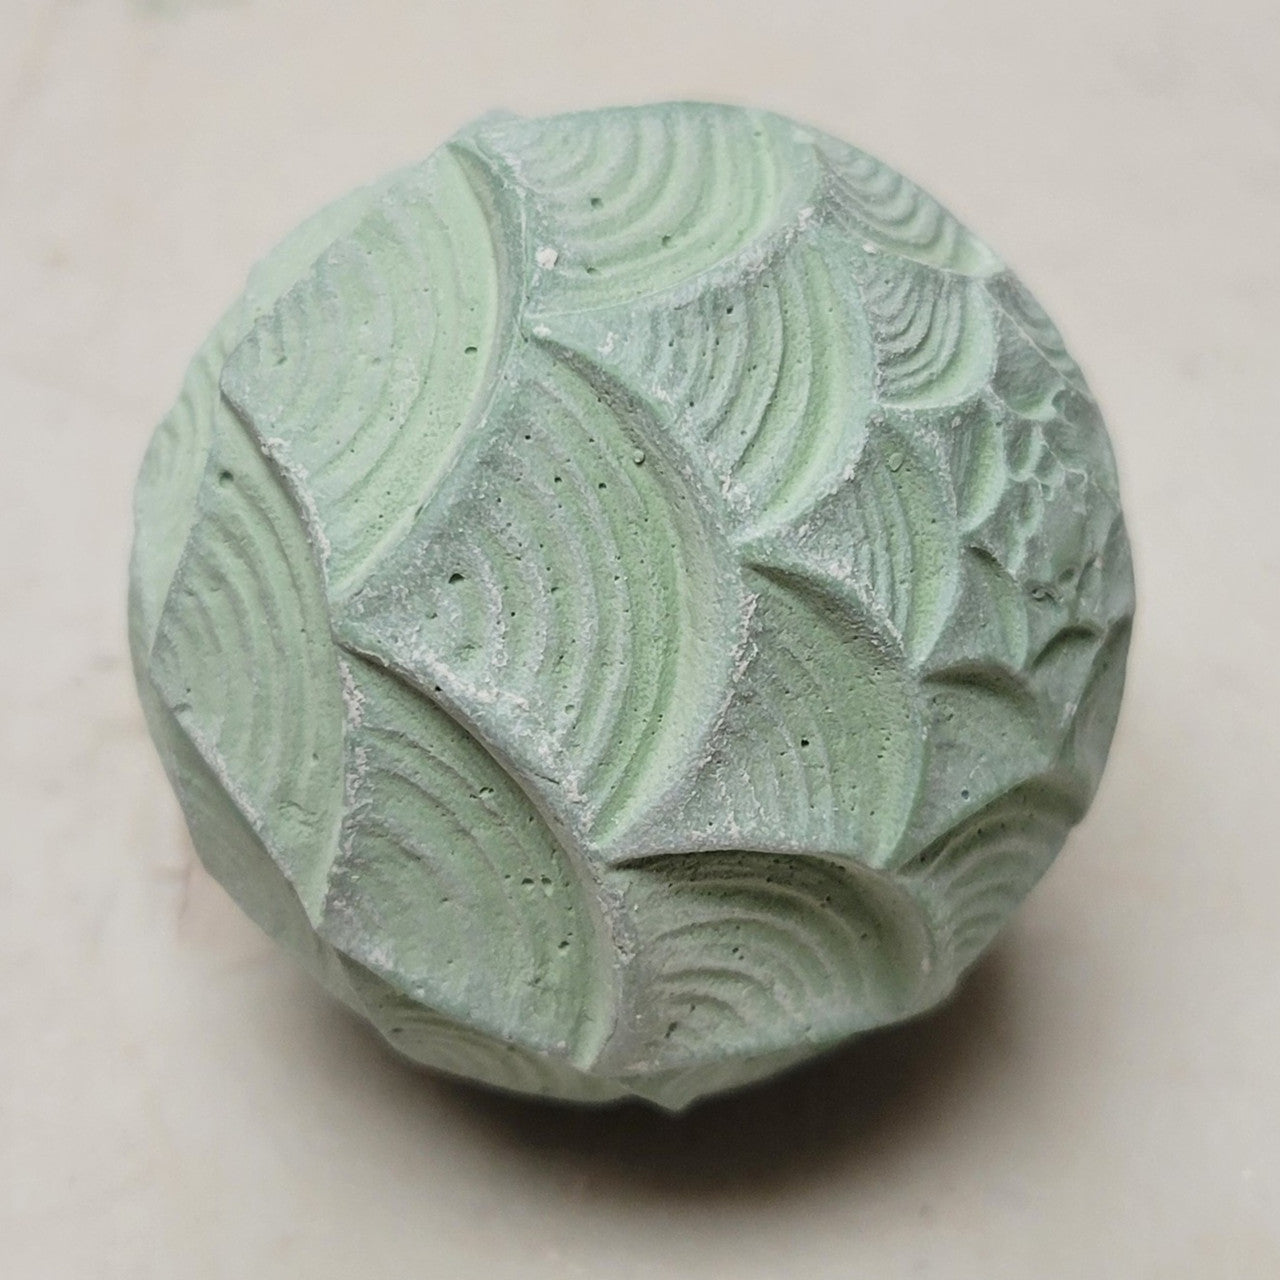
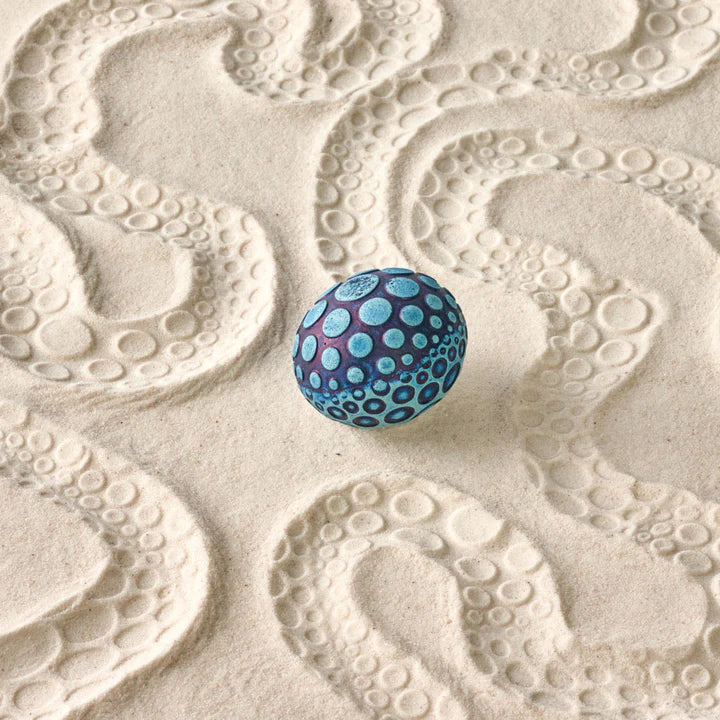
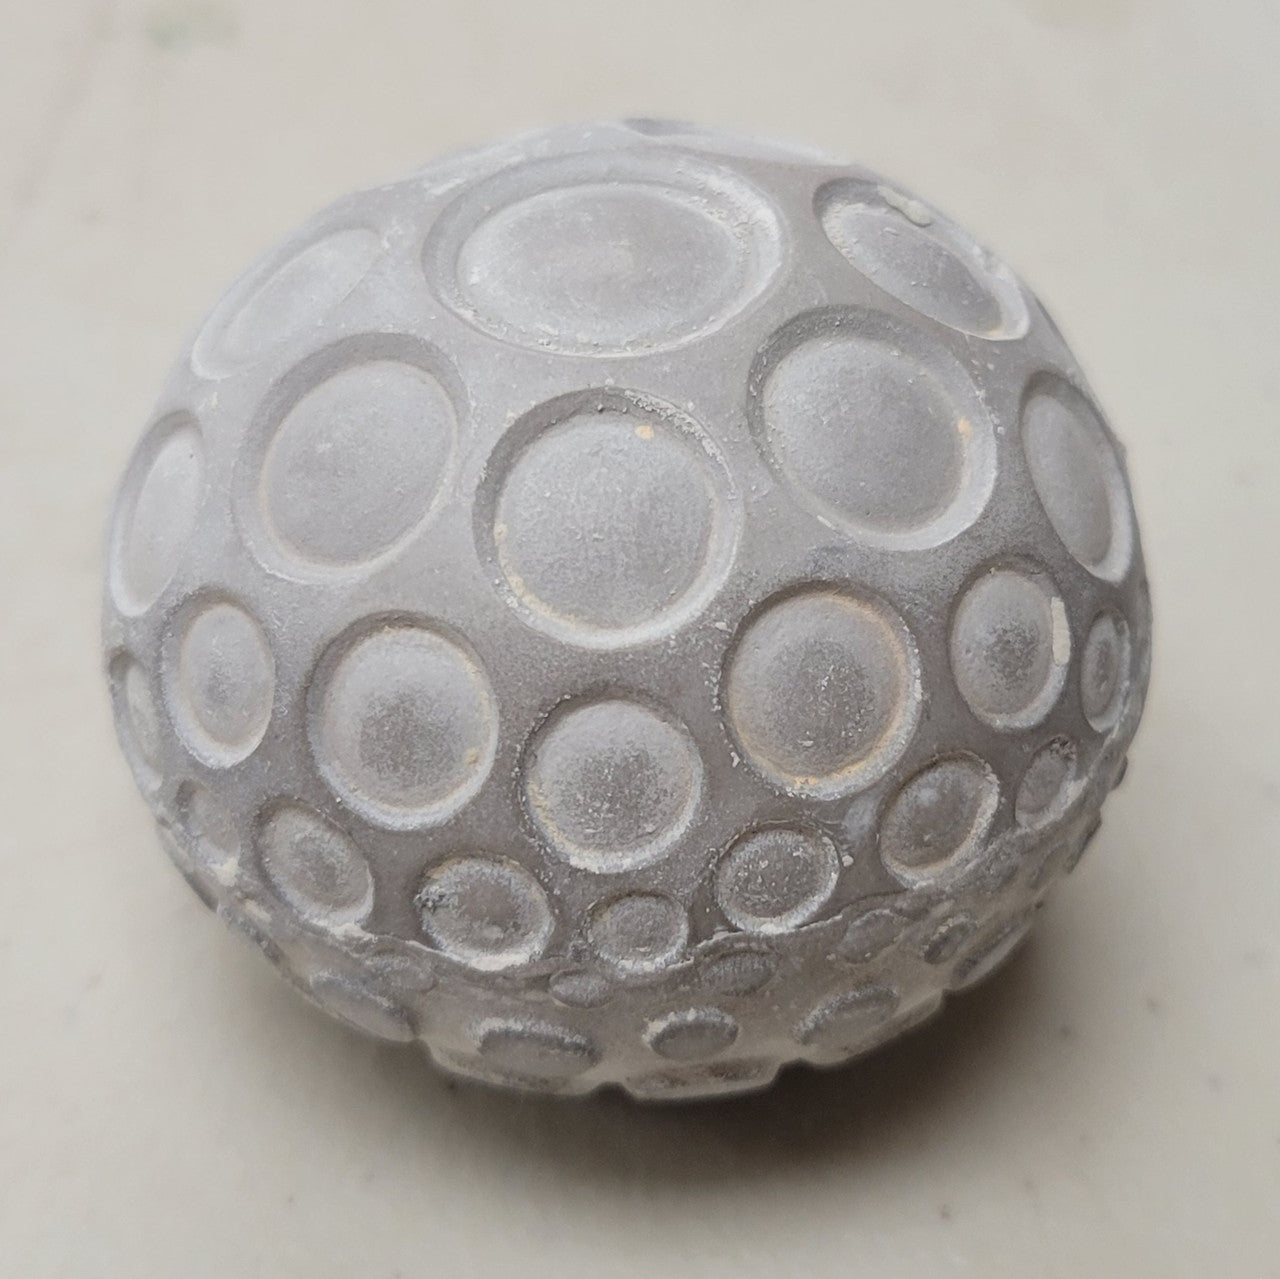
TS-30 Hearts Texture Sphere
Regular price
$20.40
Sale price
$20.40
Regular price
$24.00
Choose your option
Choose your option
Choose your option
Choose your option
Choose your option


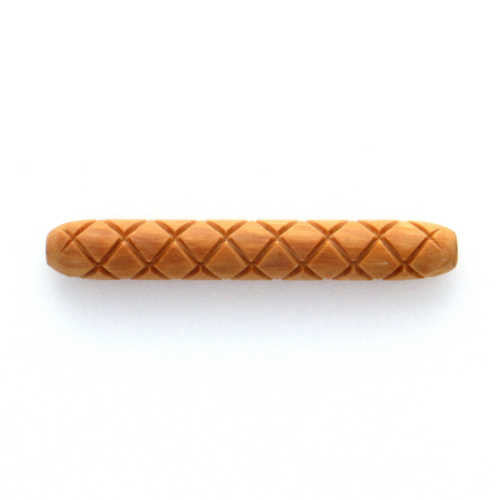
Handle roller - 1 piece
Regular price
$11.50
Sale price
$11.50
Regular price
Choose your option
Choose your option

Choose your option

Choose your option

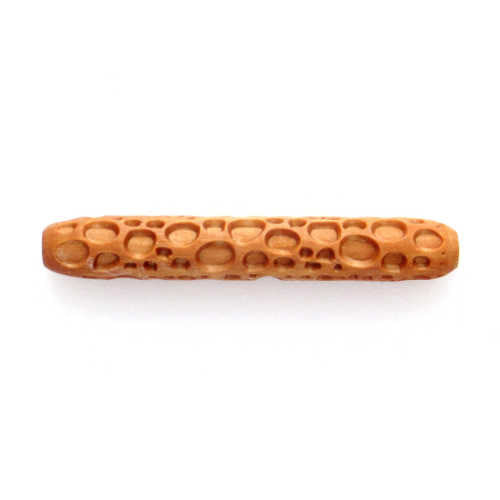
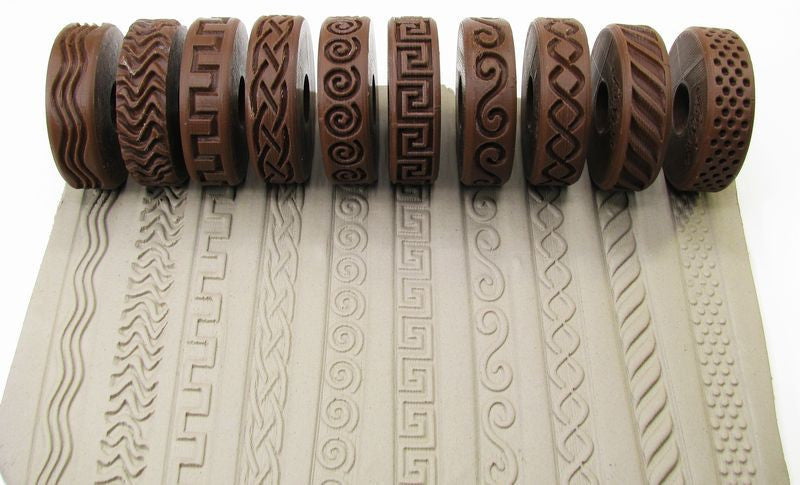
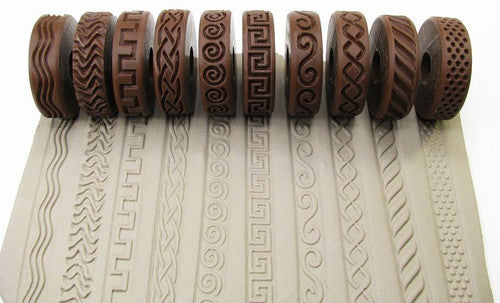
Roller Waves Celtic knots embossed
Regular price
$9.00
Sale price
$9.00
Regular price
Choose your option


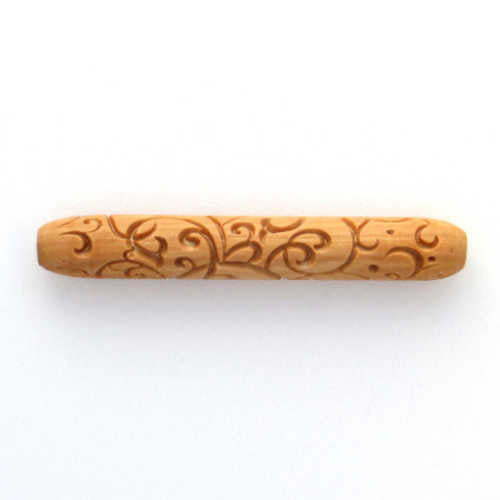
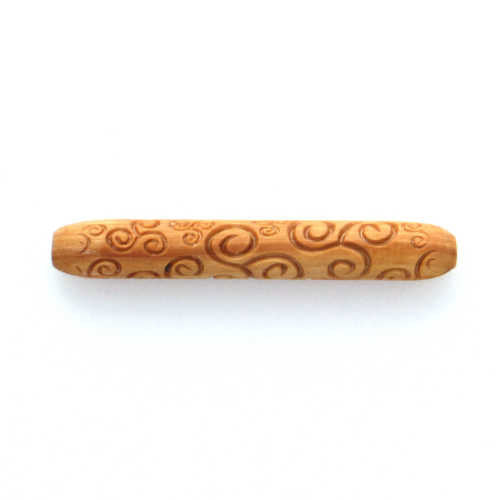
Roller Waves swirls embossed/debossed
Regular price
$9.00
Sale price
$9.00
Regular price
Choose your option

Choose your option
SCS-004 Embossed Flower - 1.5 cm Round Stamp
Regular price
$5.56
Sale price
$5.56
Regular price
$6.95
Choose your option


Choose your option

Choose your option

Choose your option


Choose your option
SMR-088 Daisy Outline Mini Round - 1 cm Stamp
Regular price
$3.96
Sale price
$3.96
Regular price
$4.95
Choose your option

Choose your option


Choose your option
Choose your option
Choose your option
Choose your option
Choose your option
Choose your option


Choose your option

Choose your option
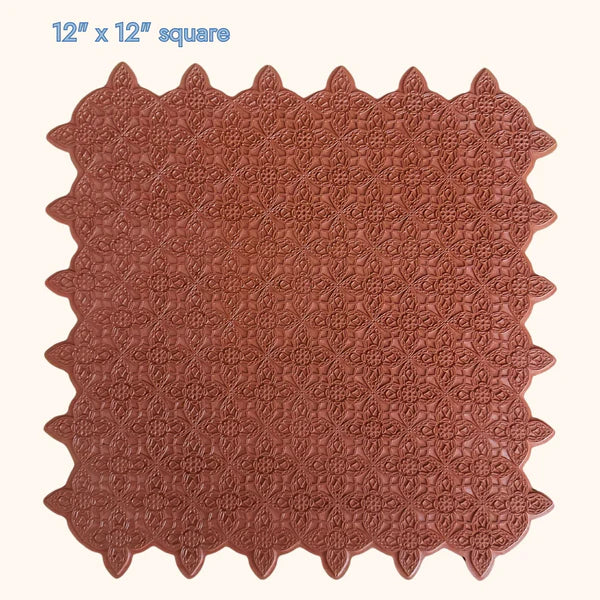
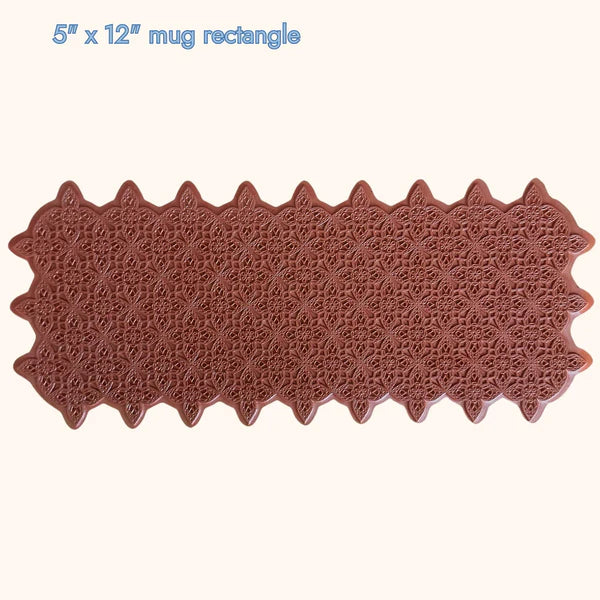
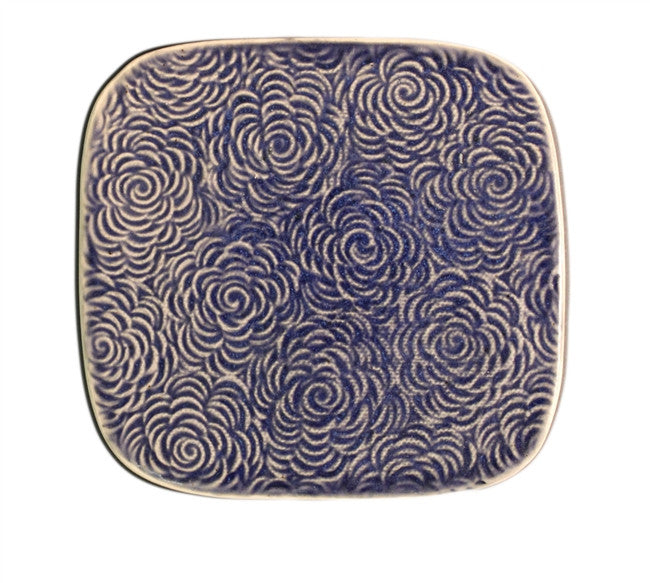
Serenity Spiral Texture Mats
Regular price
From $27.00
Sale price
From $27.00
Regular price
Choose your option
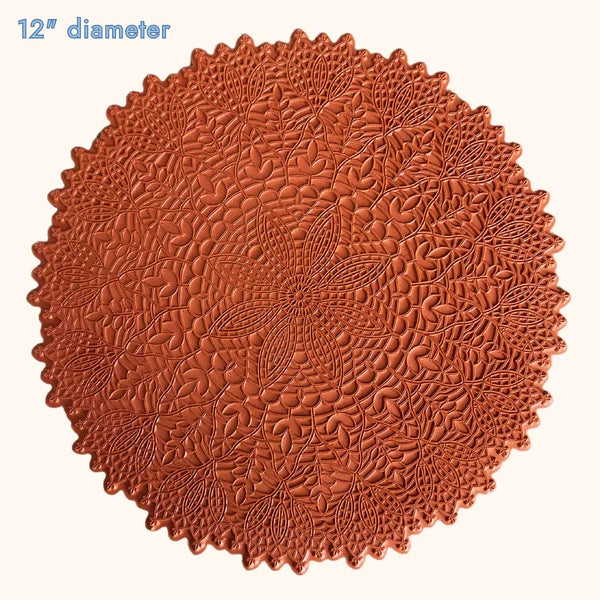
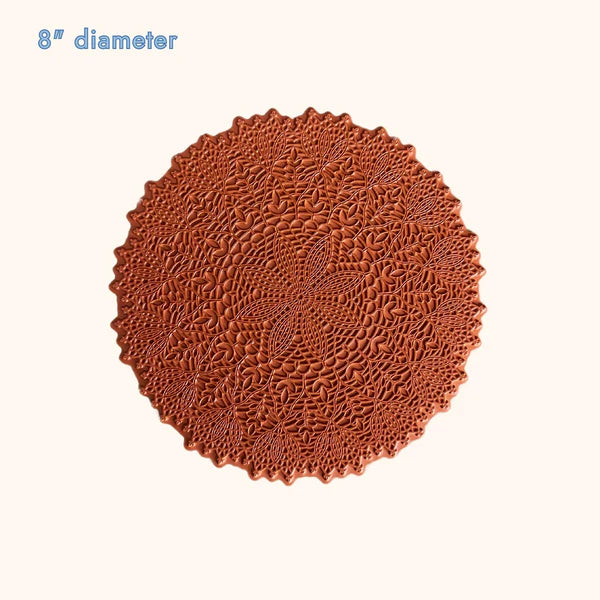
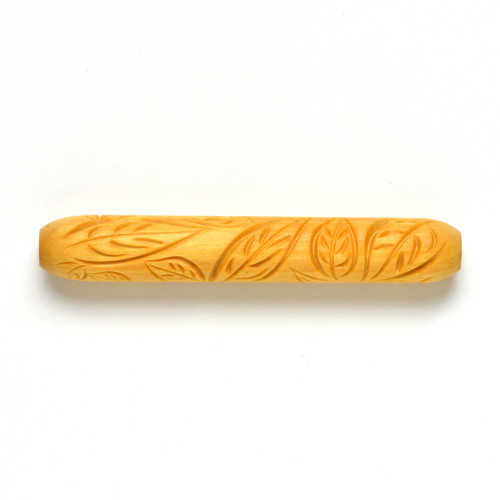
Floral Rhapsody Texture Mats
Regular price
From $27.00
Sale price
From $27.00
Regular price
Choose your option
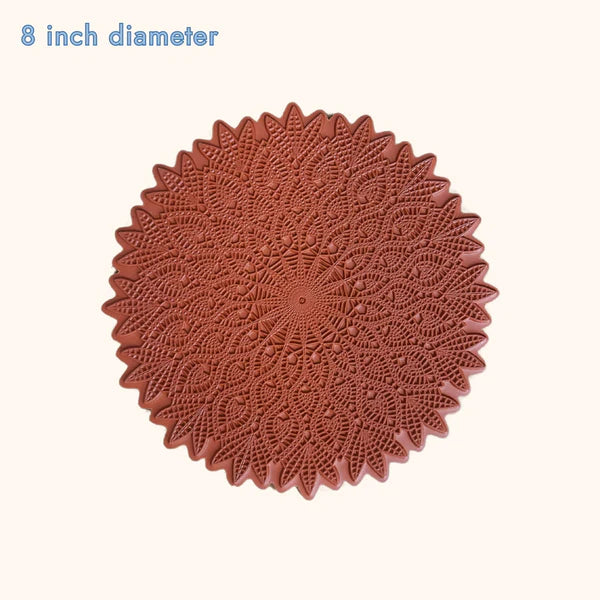
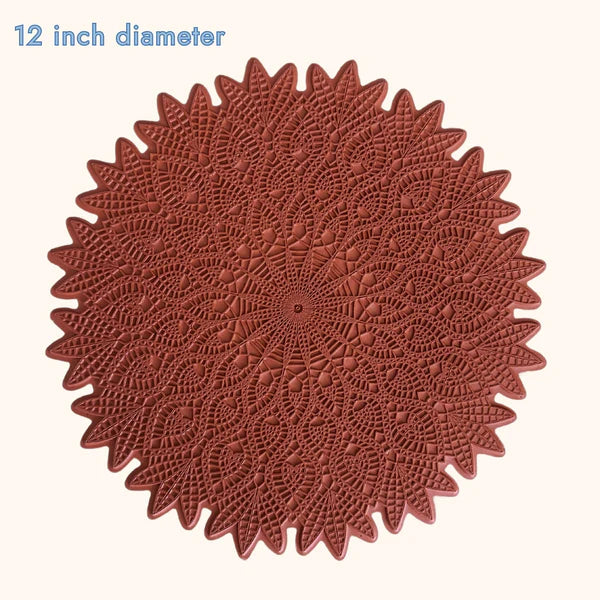
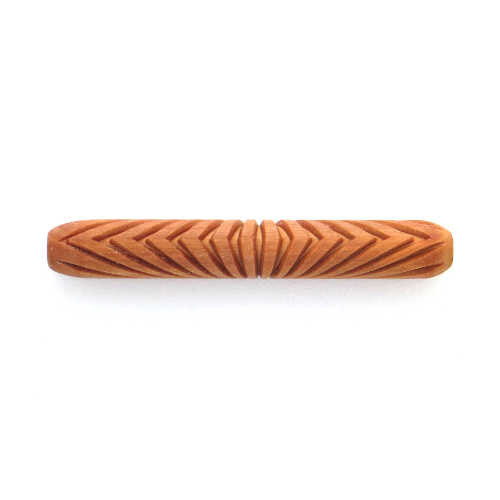
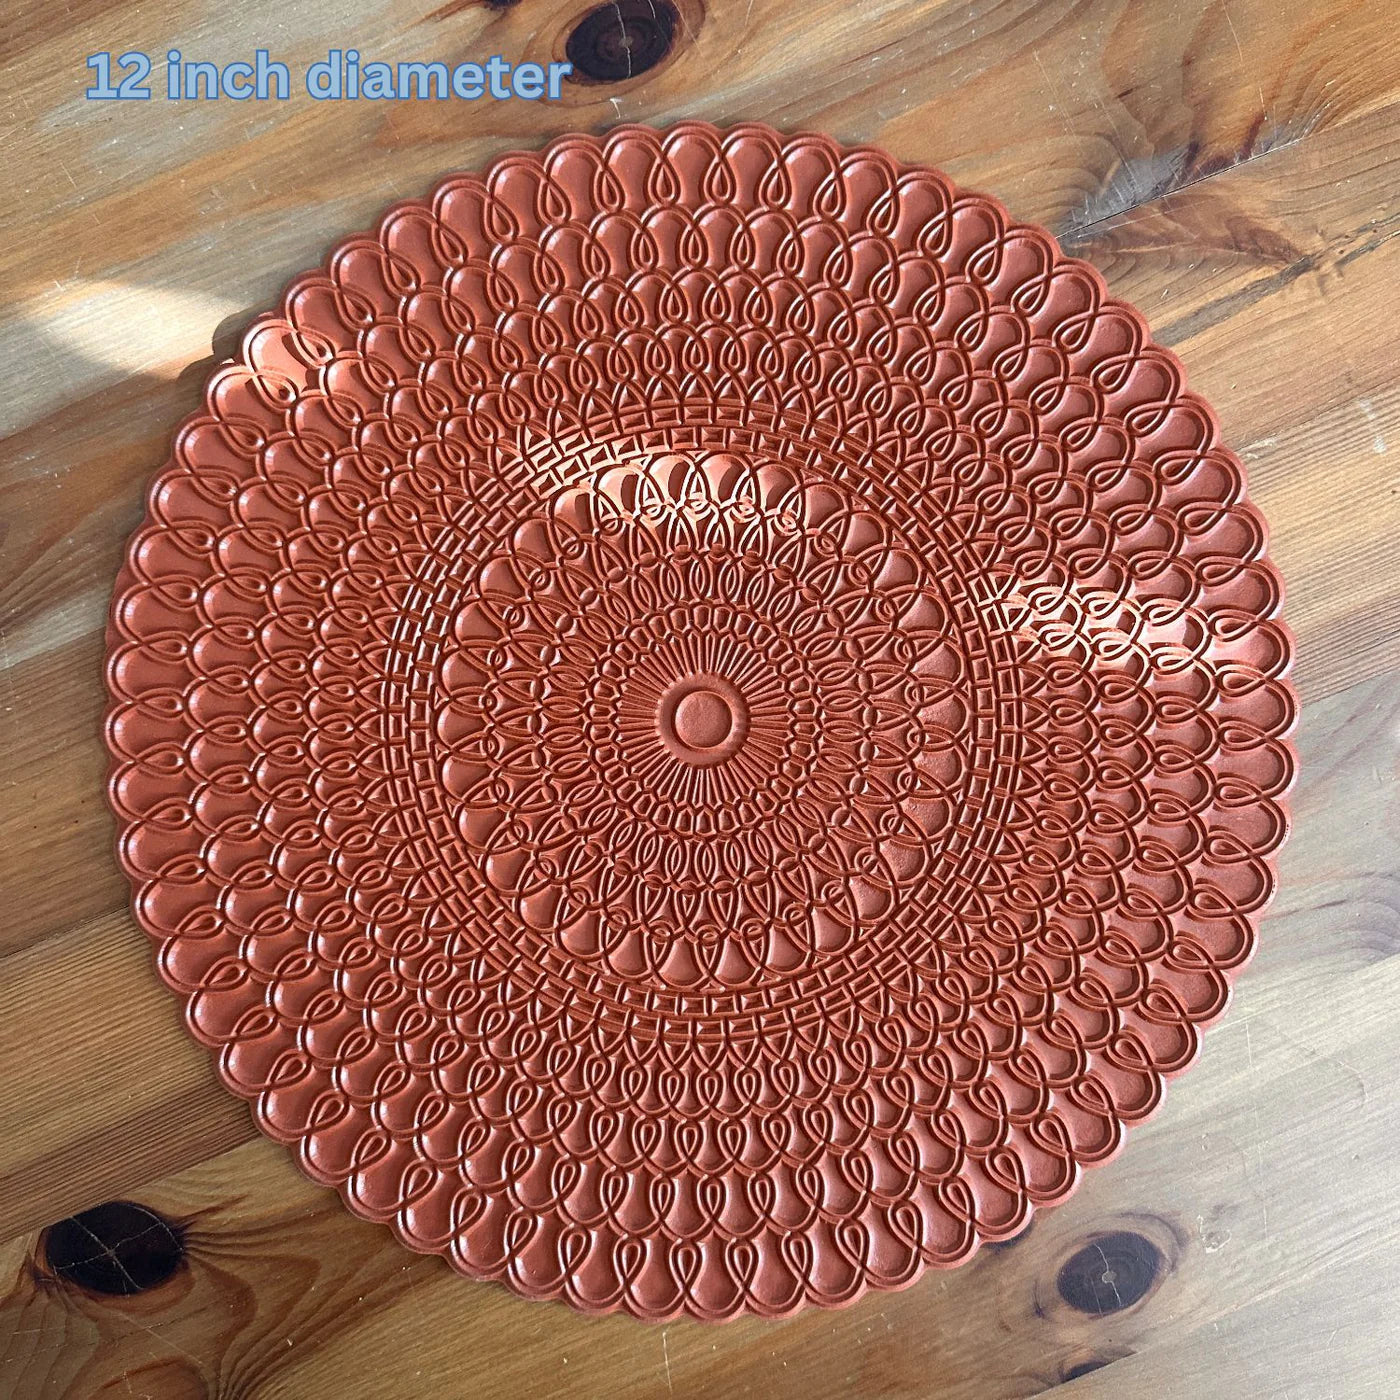
Solar Radius Texture Mats
Regular price
From $27.00
Sale price
From $27.00
Regular price
Choose your option
Choose your option

Choose your option
Choose your option
Choose your option
Choose your option

Choose your option
Choose your option
Choose your option

Choose your option
Choose your option
Choose your option
Choose your option